Read & write for Porsche Key With VVDI Programmer User Manual

This article is about to compare different ways to read Porsche BCM and program keys by Xhorse Programmer. Some require de-soldering, while some don’t with certain cables and adapters.

Method 1. VVDI PROG (Desoldering required)

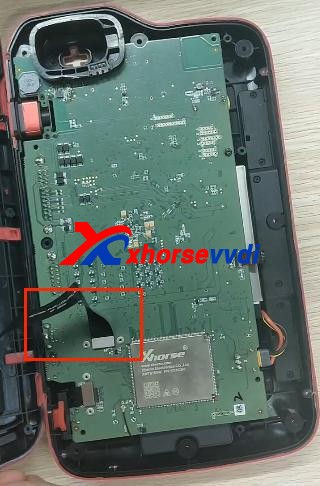
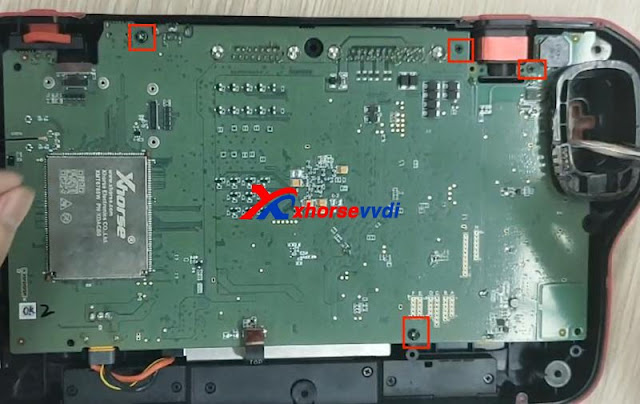
This way requires MC9S12 reflash cable included in the package and to desolder components (and to cut wires on part of chips).

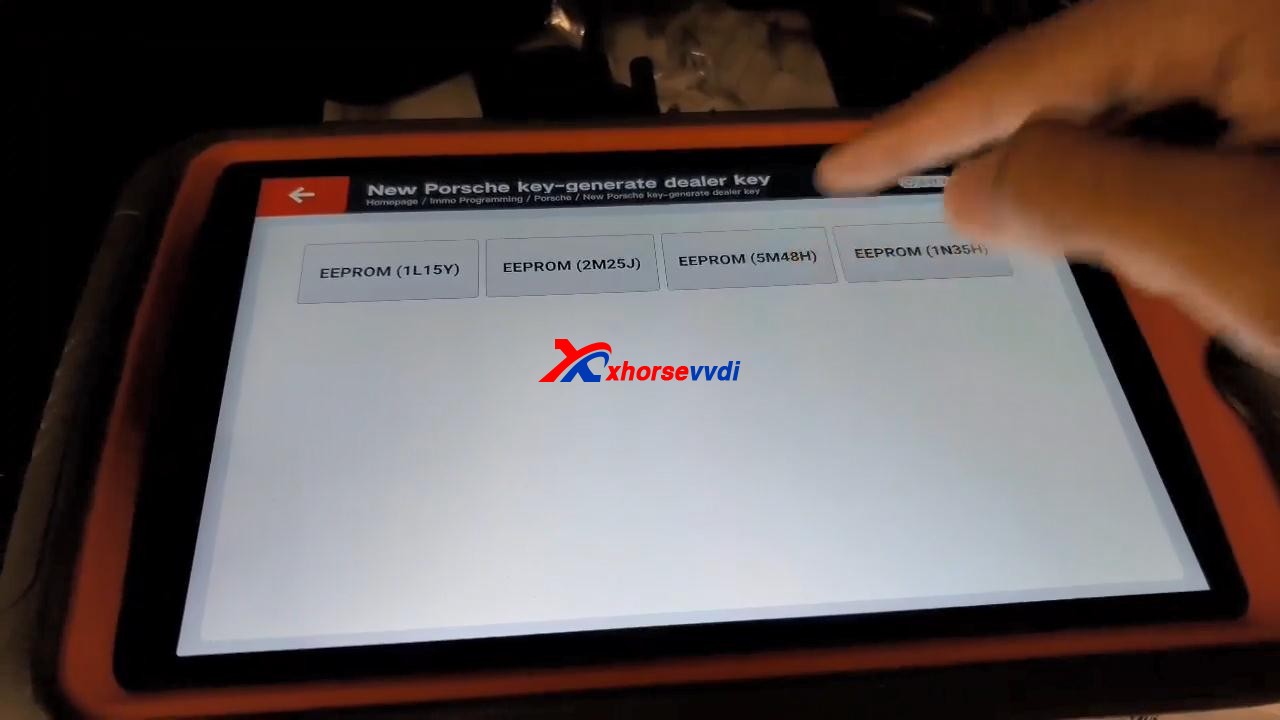
1)Panamera (1L15Y) tested OK

It requires removing a component and soldering it back after reading and saving the FLASH file.

vvdi prog Panamera (1L15Y) tested OK

2)Macan (1N35H) & Cayenne GTS (5M48H) tested OK

It requires removing two components, cutting a wire, and soldering them back after it’s complete.

vvdi prog Macan (1N35H) & Cayenne GTS (5M48H) tested OK01
vvdi prog Macan (1N35H) & Cayenne GTS (5M48H) tested OK 02

General procedure (VVDI PROG+VVDI2):

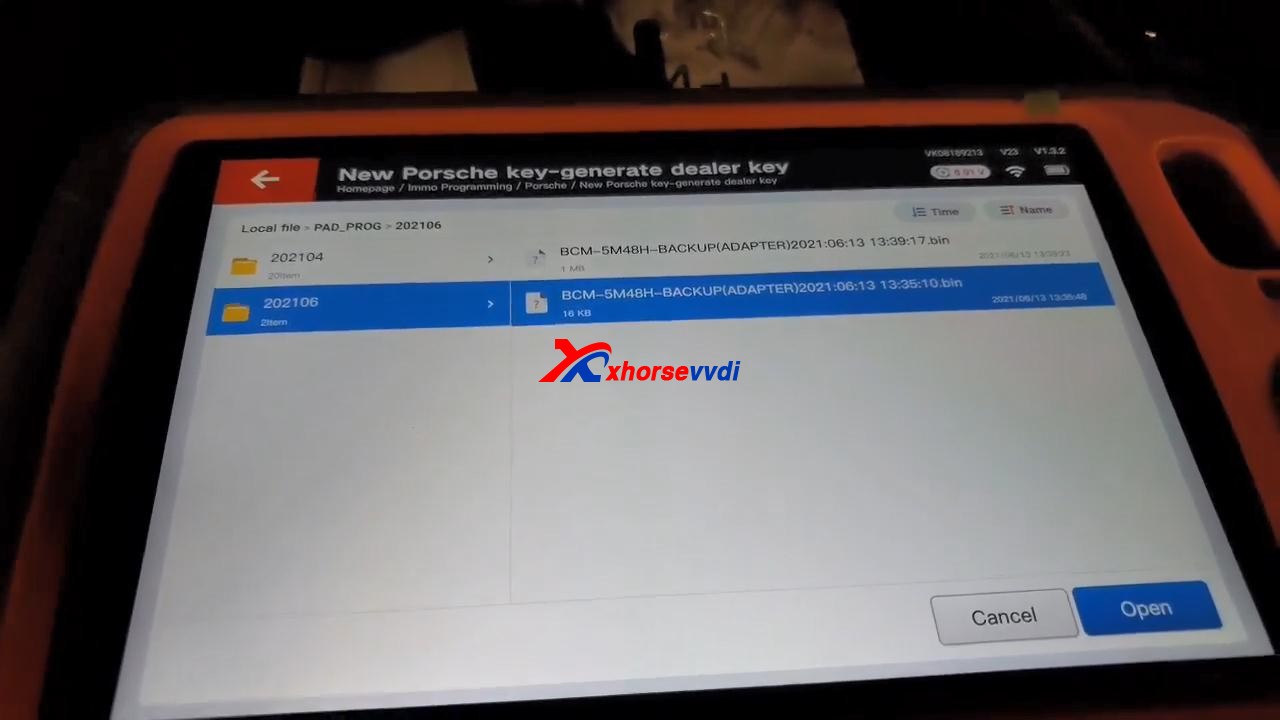
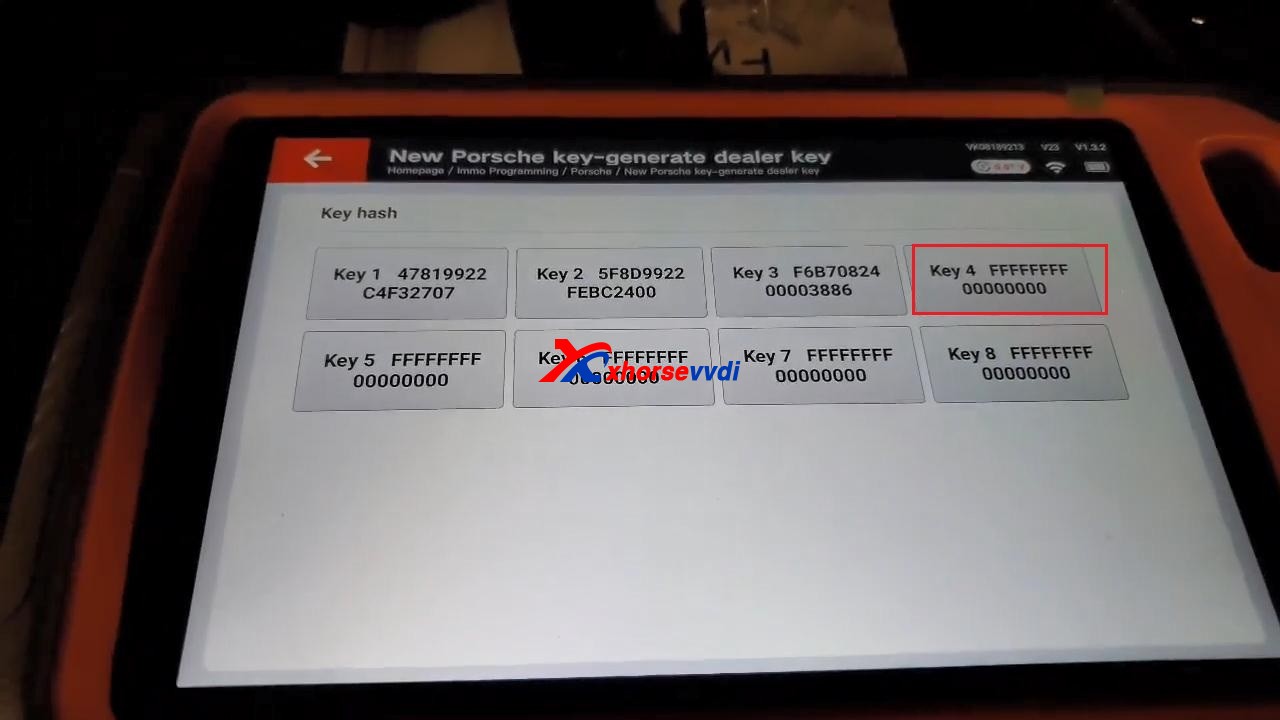
  • Read&save D-FLASH file (VVDI PROG)>>Load the file (VVDI2)>>Program keys>>Install back BCM>>Learn keys via OBD (VVDI2)

Method 2. VVDI Programmer with Porsche Fast Easy Cable

This way requires Porsche Fast Easy Cable and wiring. No soldering is required.

This adapter works with VVDI PROG, VVDI2, and Key Tool Plus to read BCM without soldering.

1)1N35H tested OK

VVDI prog Programmer with Porsche Fast Easy Cable

The rest procedure is similar to method 1.

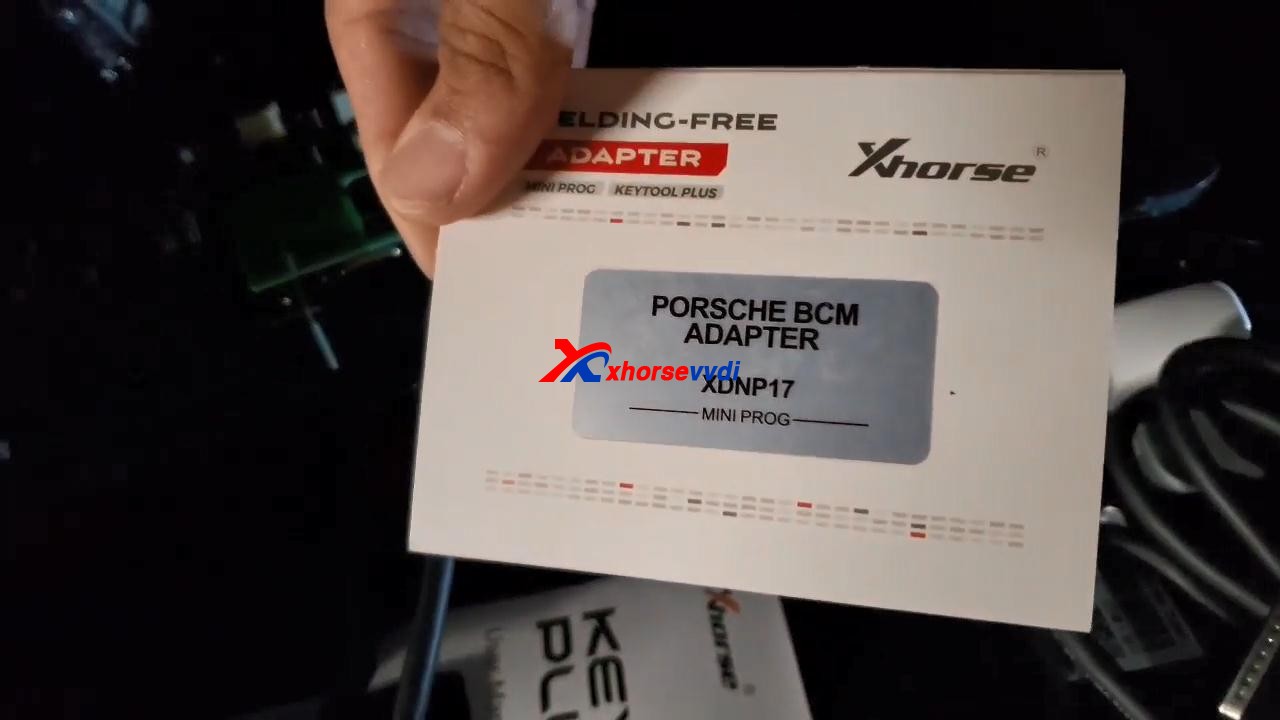
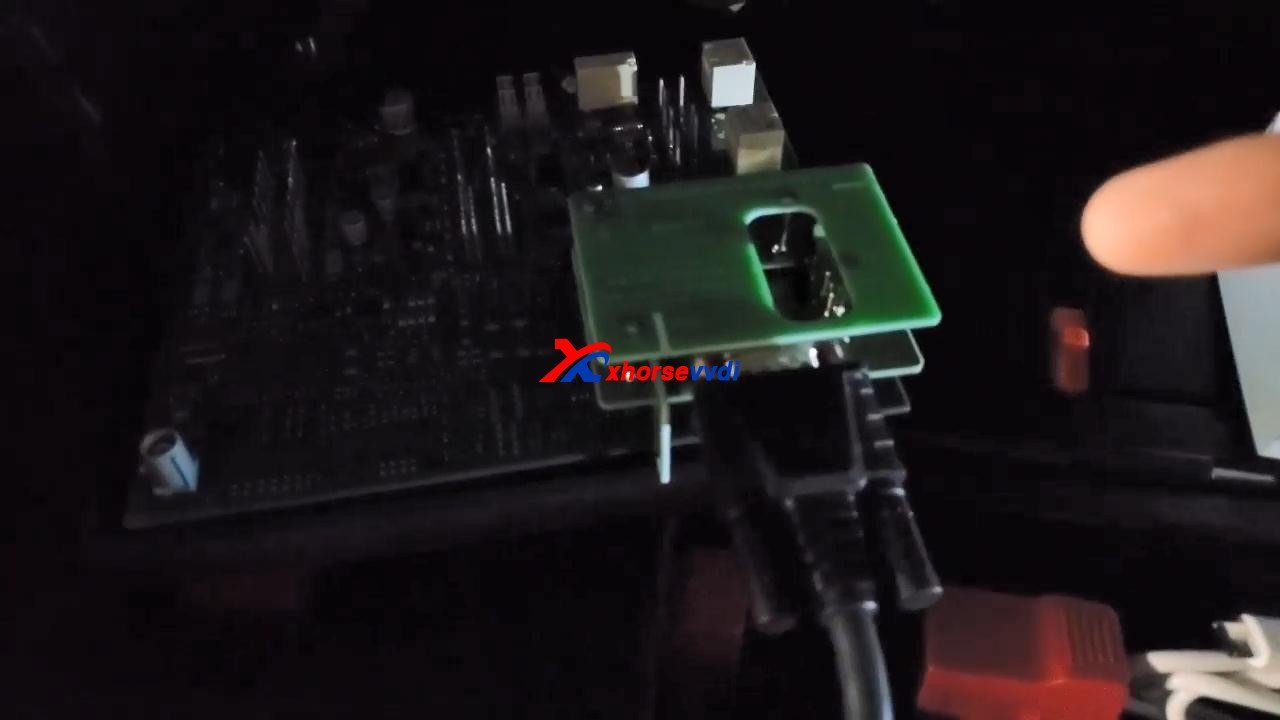
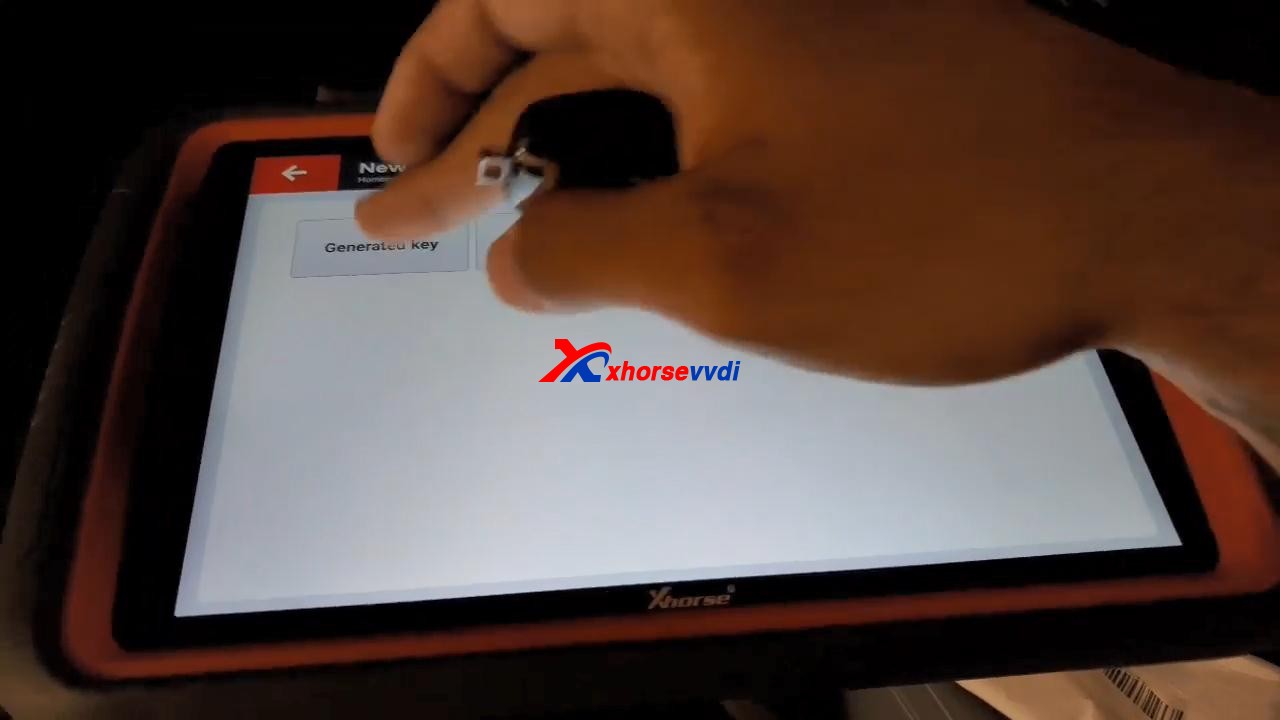
Method 3. VVDI Key Tool Plus/Mini Prog with XDNPP017 Adapter

This way requires XDNPP017 Solder-free Adapter, so soldering is not required in this way as well.

1)Cayenne (5M48H) and Macan (1N35H) tested OK
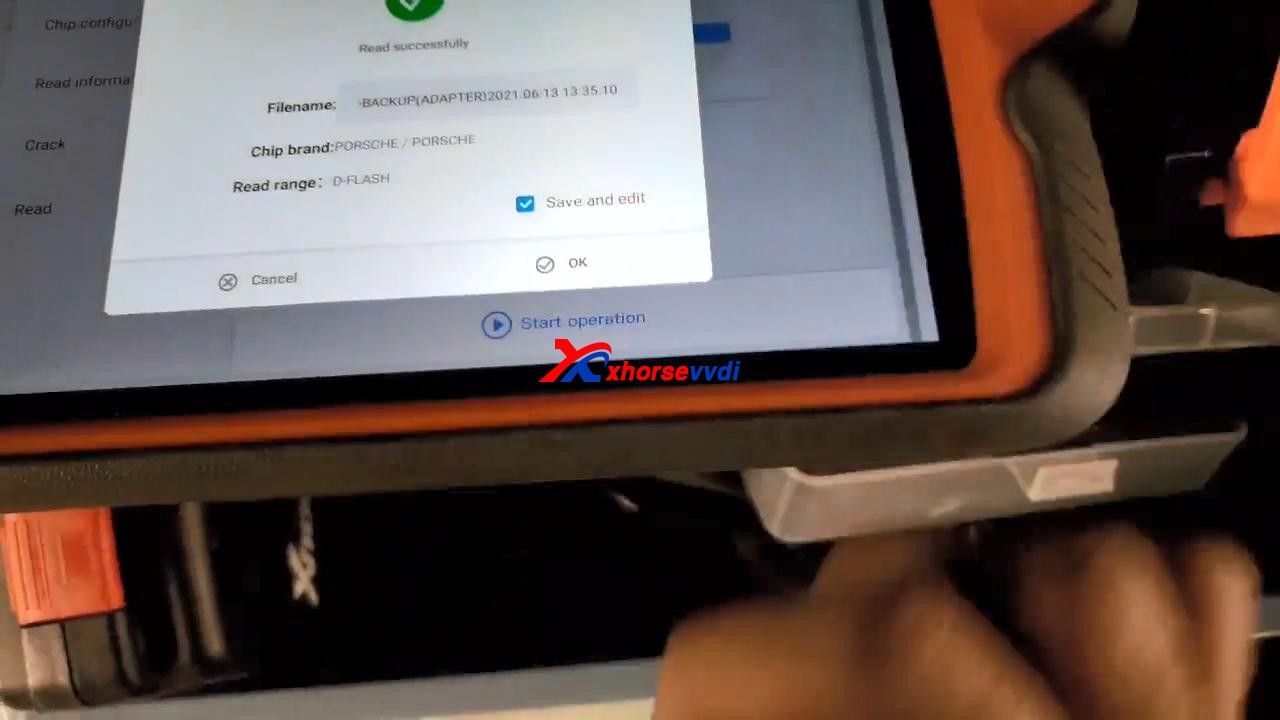
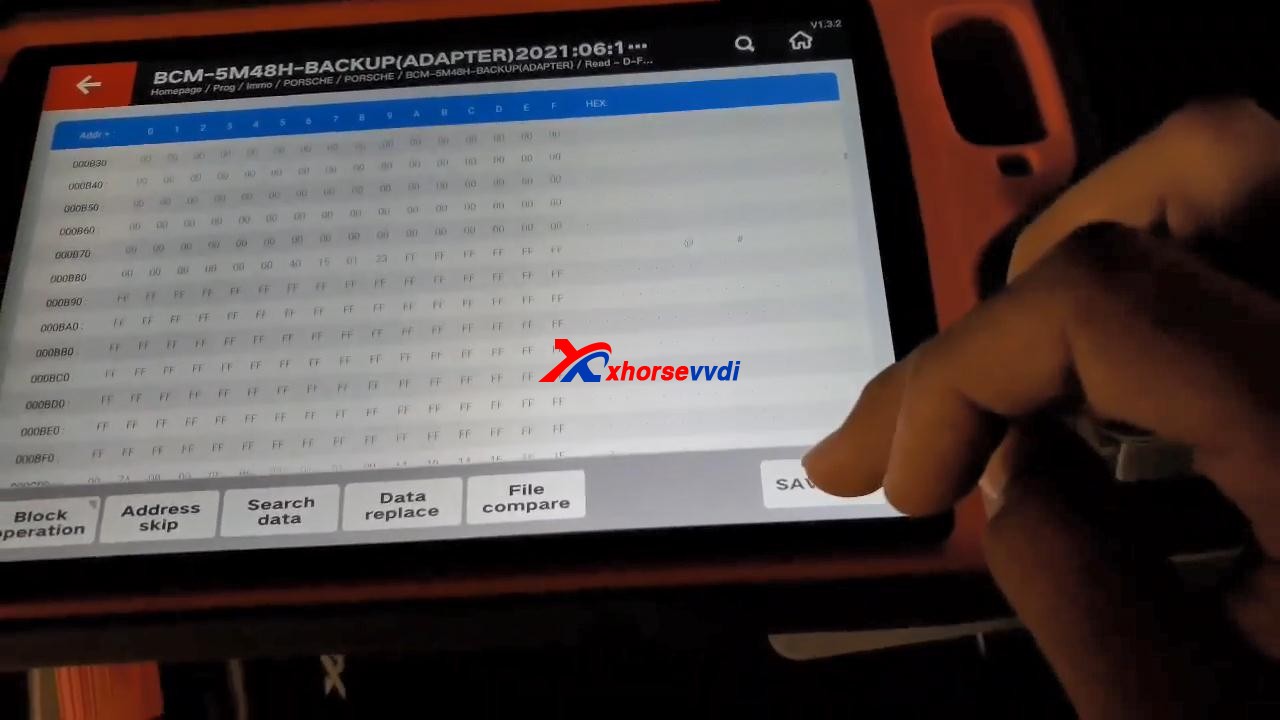
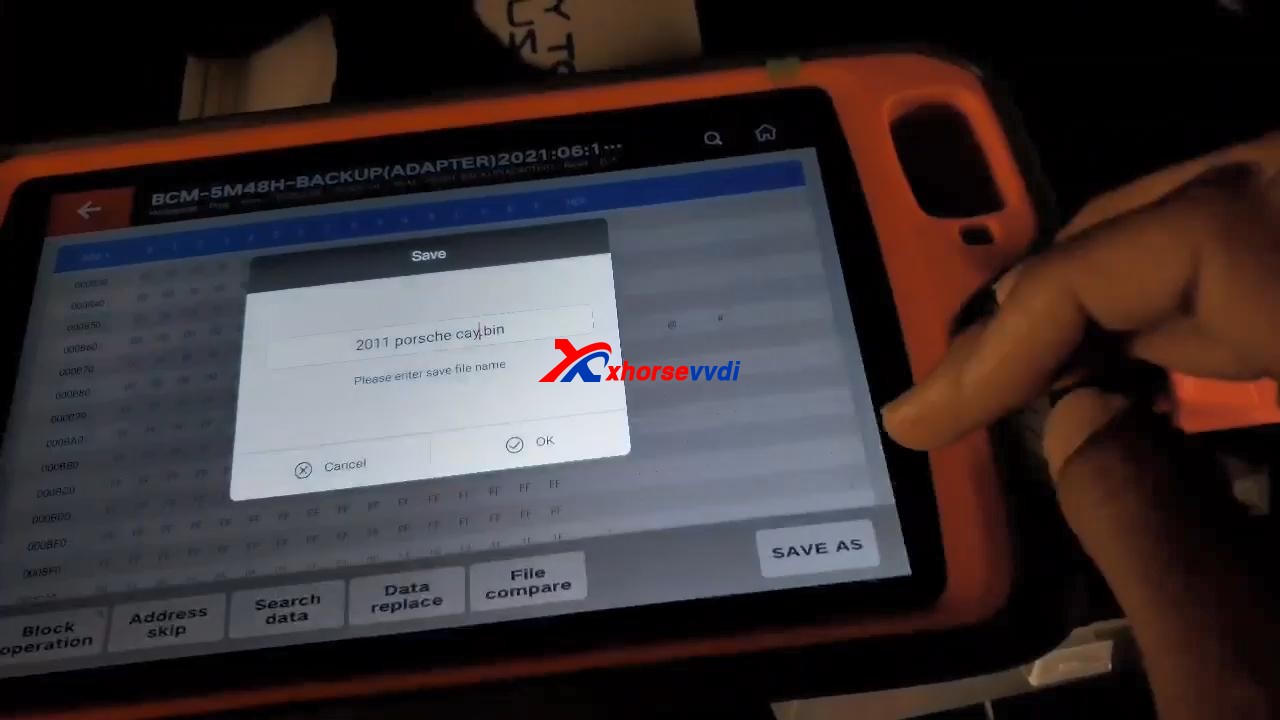
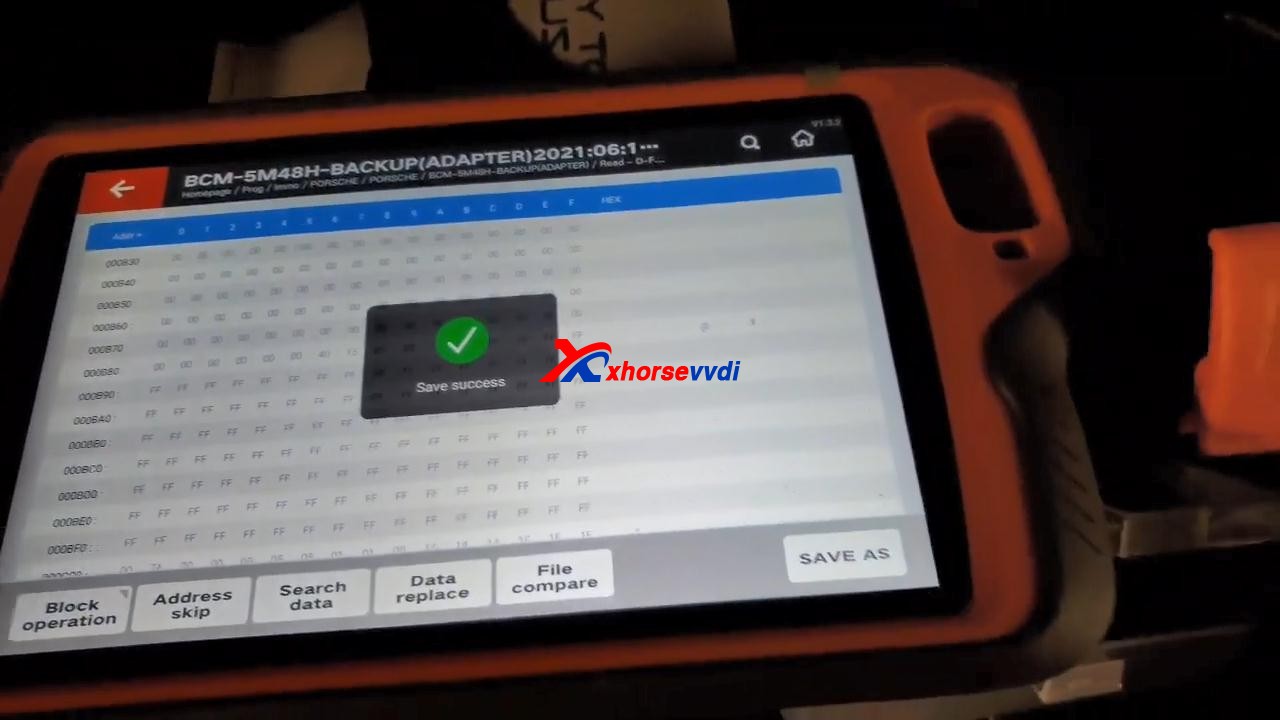
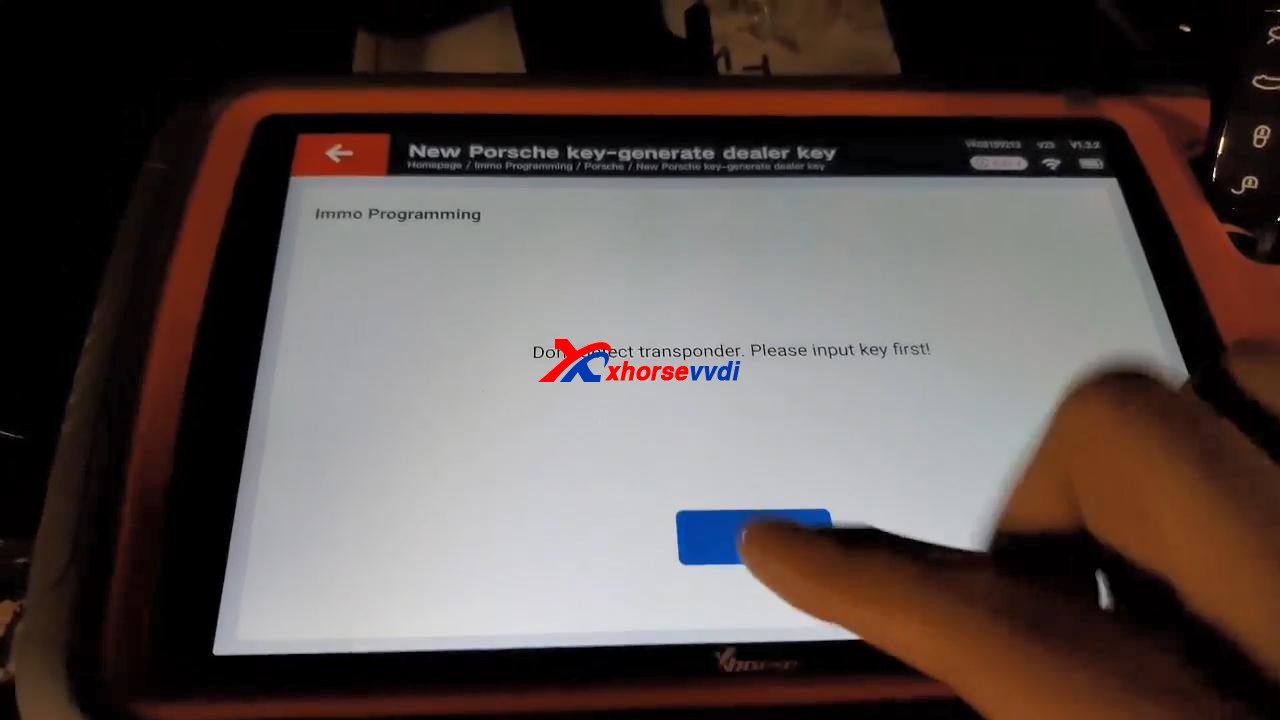
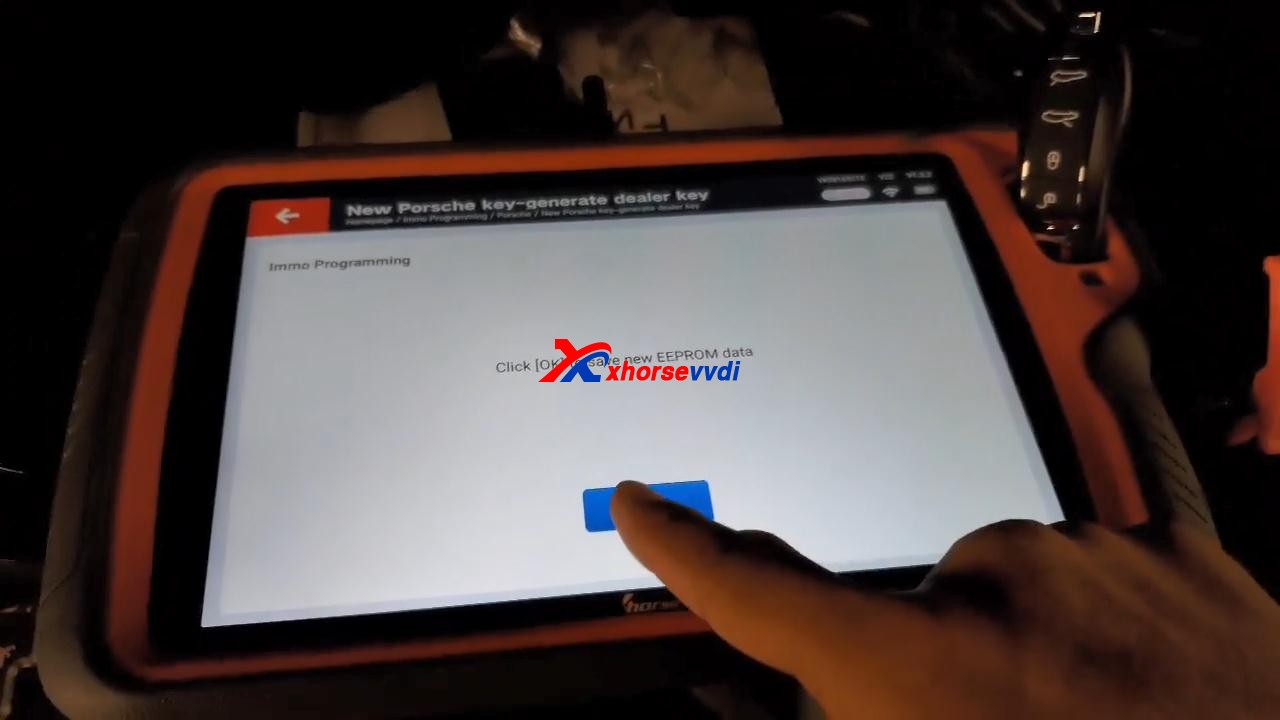
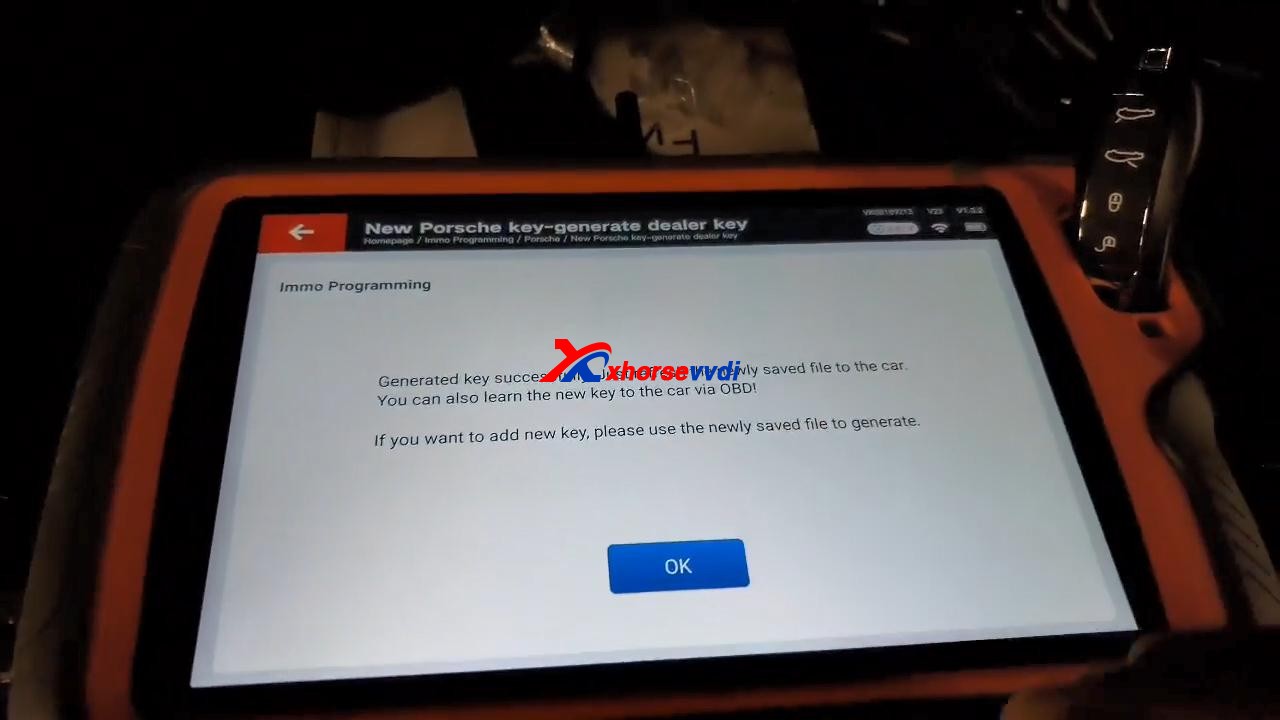
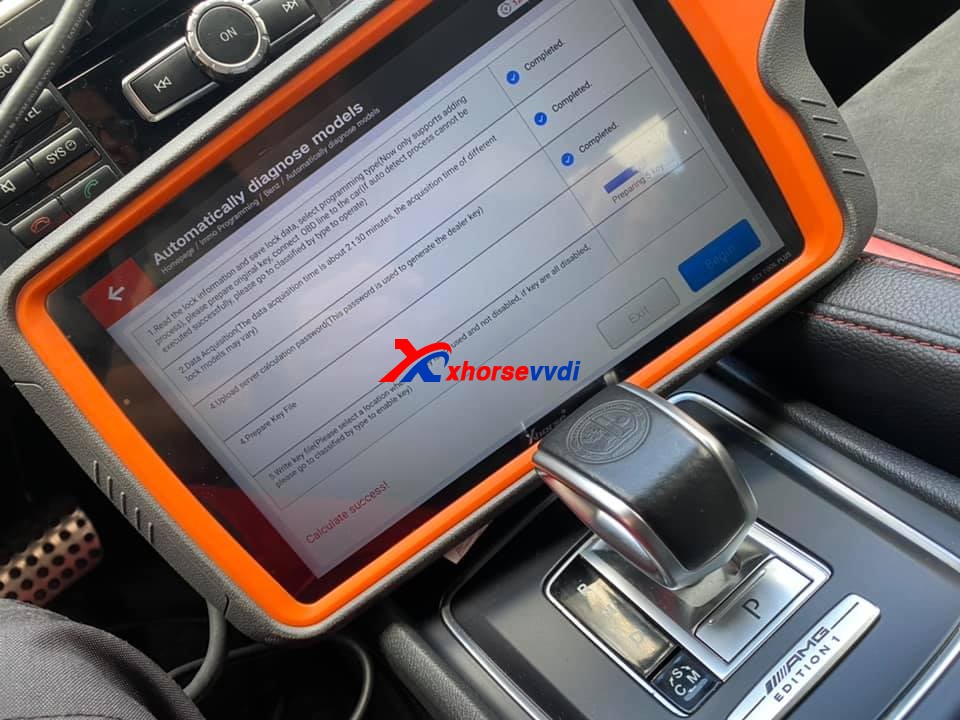
KTP Cayenne (5M48H) and Macan (1N35H) tested OK 01
KTP Cayenne (5M48H) and Macan (1N35H) tested OK 02

General procedure:

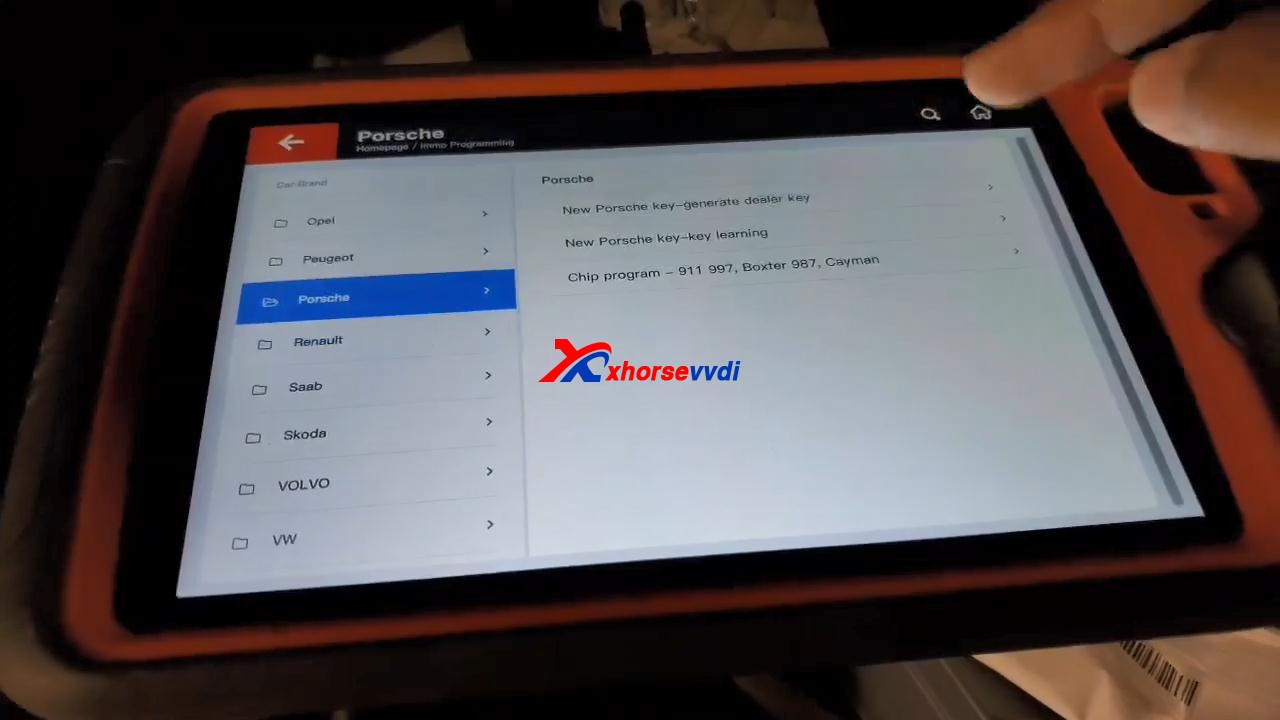
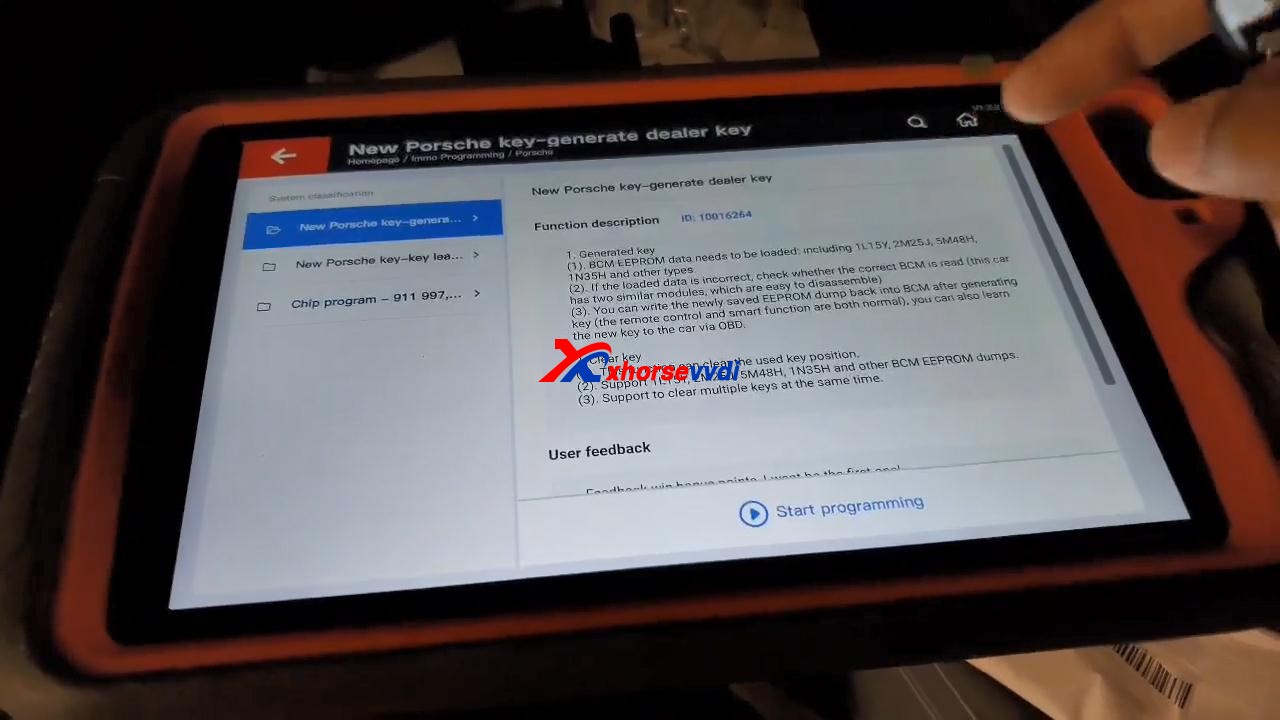
  • Read&save D-FLASH file (Key Tool Plus/Mini Prog)>>Load the file (Key Tool Plus)>>Program keys (Key Tool Plus)>>Install back BCM>>Learn keys via OBD (Key Tool Plus)
KTP Cayenne (5M48H) and Macan (1N35H) tested OK 03
KTP Cayenne (5M48H) and Macan (1N35H) tested OK 04

Alright, different methods require different adapters & cables and operation and watch the devices that adapters support.

  1. How to use VVDI2 and VVDI Prog to Program Porsche Paramera Key? 
  2. VVDI Prog Programmer Read Porsche BCM 2M25J Successfully 
  3. How to use VVDI2 and VVDI Prog to Read Write Porsche Key?
  4. Xhorse VVDI Key Tool program 2011 Porsche Cayenne AKL 
  5. VVDI Prog Read Porsche BCM Data Tips 

A Guide to Disassembling and Assembling VVDI Key Tool Plus

Today xhorsevvdi is going to share with you how to take out PCB Board inside VVDI Key Tool Plus.

Let’s start it, easy and simple.

1. Remove 12 screws on the back. (8 surrounded, 4 on the center)

How to disassemble Xhorse VVDI Key Tool Plus 01

2. Make the front side up and remove the front cover. (note: watch the cable connected to the screen)

How to disassemble Xhorse VVDI Key Tool Plus 02

3. Disconnect 3 ribbon cables.

How to disassemble Xhorse VVDI Key Tool Plus 03

4. Remove the thin cable as shown.

How to disassemble Xhorse VVDI Key Tool Plus 04

5. Unscrew 4 screws on the PCB board.

How to disassemble Xhorse VVDI Key Tool Plus 04

6. Take out PCB board and disconnect battery cable.

How to disassemble Xhorse VVDI Key Tool Plus 05

Finished, that’s the process of taking out PCB board from Key Tool Plus Pad.

Video demo:
https://www.youtube.com/embed/73hkthk0TaU

For more info, you can check

Source:http://blog.xhorsevvdi.com/how-to-take-out-xhorse-vvdi-key-tool-plus-pcb-board/

Which tool can read BMW EWS2/EWS3/EWS4?

This article is about to bring you a method to read 2nd/3rd/4th BMW EWS module respectively. All No soldering cables or removing MCU.

Contact us to check if your EWS is supported!

Part 1. EWS2

Tools: Ak90+ Key Programmer (Read 1D47J, 2D47J, 0D46J, 2L86D without removing MCU)

Model: BMW 3er E36 1996

MCU: 2D47J

Procedure:

Connect MCU to AK90 unit by 10-pin cable.

Connect AK90 unit to PC by USB cable.

BMW EWS with ak90+ 02

On AK90 app,

Press “Connect” and select chip type.

Watch the prompt and click on “Read EWS”.

BMW EWS with ak90+ 03
BMW EWS with ak90+ 04

Part 2. EWS3

Tools:  Xhorse XDNP50 EWS3 Adapter 

     VVDI Key Tool Plus

Procedure:

Use EEPROM clip to clip PIN1.

EWS3  with vvdi key tool plus 01

Connect EWS3 module to XDNP50 EWS3 Adapter.

EWS3  with vvdi key tool plus 02

Combine EWS3 module and EWS3 adapter.

EWS3  with vvdi key tool plus 03
EWS3  with vvdi key tool plus 04

Device path:

Programmer>>IMMO>>BMW>>BMW>>EWS3(Adapter)>>Read>>EEPROM

Part 3. EWS4

Tools: EWS4 Adapter

VVDI Prog 

Model: BMW X3 2007

MCU: 2L86D

Procedure:

Put EWS4 module in the adapter and lock it.

EWS4 with vvdi prog

Select “4-IMMOBILIZER” “BMW” “EWS4 X(ADAPTER)”.

Press “Read” and “Save” to get data file.

Done! That’s how we read BMW EWS2/EWS3/EWS4 no soldering.

Read also:

Xhorse XDNP50 EWS3 Adapter Step-by-Step Tutorial(No Soldering)?

How to use VVDI Prog and VVDI2 Program BMW X3 EWS4.4 2007?

How to Check Xhorse Key Tool Plus Mercedes Benz / VW Tokens?

How to view the tokens for Mercedes Benz and VW MQB with Xhorse VVDI Key Tool Plus in step by step.

Part 1. How to View MQB Online Tokens with VVDI Key Tool Plus

Immo programming -> VW -> Get immo data online -> Start programming -> Balance inquiry

How to check MQB Online Tokens with VVDI Key Tool Plus 01
How to check MQB Online Tokens with VVDI Key Tool Plus 02
How to check MQB Online Tokens with VVDI Key Tool Plus 03
How to check MQB Online Tokens with VVDI Key Tool Plus 04
How to check MQB Online Tokens with VVDI Key Tool Plus 05

Part 2. How to View MMercedes Benz Tokens with VVDI Key Tool Plus

Immo programming -> Benz -> Select from system -> Password calculation -> Start programming -> Query the Benz points -> here you will see how many times for free calculation, how many times for paid calculation, how many bonus.

How to check MQB Online Tokens with VVDI Key Tool Plus 06
How to check MQB Online Tokens with VVDI Key Tool Plus 07
How to check MQB Online Tokens with VVDI Key Tool Plus 08
How to check MQB Online Tokens with VVDI Key Tool Plus 09

PS: You can get Key Tool Plus for Mercedes Benz Password Calculation Token at here:
https://www.xhorse.co.uk/wholesale/1-token-for-vvdi-key-tool-plus-password-calculation-for-sn-vk08.html

(Solved) Ford Remote only working inside car after programming by Key Tool Plus?

Customer feedback:

I programmed Ford Edge 2009 key and remote by Xhorse VVDI Key Tool Plus. The program was successful, the key can start the engine and the remote can lock/unlock doors. The remote can work when I was inside and the driver’s door is closed, but the remote will not lock/unlock doors once I step out of the car and close the driver’s door.

In addition, I found my key’s working range is about 5-10m, but I have to remove the cover of the key fob and use the key fob. If I put it back, it still only works inside the car.

Xhorsevvdi engineer believes Key Tool Plus Pad supports Ford Edge 2009 key and remote programming, so the problem may be the key itself.

Here are the Solutions:

1.Replace the key battery

The battery may be dead or of low power, so replace the battery or try another key.

Whichever you choose, you may need to reprogram it using  Key Tool Plus.

There are two options for this model: “Select by model” or “Select by system”.

If functions of model selection fail, go to functions of system selection.

2.Clean the key circuit board

Circuit boards in the key fob is easy to get wet or corroded, although the key quality varies in OEM key and Aftermarket key.

Use a dry, soft brush to clean off oxidized matters gently.

If it’s a surface carbon buildup, try a cleaner like “CO Contact Cleaner”.

3.Re-solder the battery contacts

There may be a “dry” solder joint or a scratch on the battery connector.

Solder wires for “+” and “-” battery contacts.

If you don’t know how to use a soldering iron correctly, don’t do it yourself.

Done! Hope this could help!

http://blog.xhorsevvdi.com/fixed-ford-remote-only-work-in-car-after-add-key-by-vvdi-key-tool-plus/

How to add a Toyota Camry 2015 key with Xhorse Key Tool Plus

 This is a quick demo to generate remote for Toyota Camry 2015
Tool option:Xhorse VVDI Key Tool Plus
Blank key Chip: XM-TOY00GL 


The procedure:
Next is to check original Toyota Remote.
PS: we have the working key.

Path: transponder clone -> read transponder.


It is 8A Toyota Keyless Go learned.

Check frequency.
It is FSK312.1MHZ/314.35 MHZ


Next is remote program – Toyota -All remote – 0020 312.1MHZ/314.35 FSK.

Put XM-Toy00GL PCB into coil antenna hole.
Remote information: PCB number 0020.

Press [Generate], meanwhile LED on XM PCB flashing.
Calculating required 5 seconds , query after 10 seconds.
 

Writing data, please wait…
Process time around 1-2 minutes.

Burn success.

Put XM-TOY001 into Toyota smart shell.

Go to program new smart remote.

Firstly, test original remote and new remote.

Then go to: IMMO program -Toyota -select by model.

Camry – 2010 -Smart key system 8A /4D CAN.

Press “Start program“.

Select “Read the number of keys“.
Please switch ignition on.
The number of registered key:1

Add key.
Please switch ignition on.
The number of registered key:1 , the number of keys that can also registered: 6 

Keep touching the ignition switch with sign surface of a registered key, complete the operations within 30 seconds after clicking [OK].

Click [OK] and keep touching the ignition switch with sign surface of a registered key within 30 seconds.

Note: if key sound once, take the key farther away. If key sound twice, it is programmed successfully.

Key registration succeeded!

The number of registered key:2 , the number of keys that can also registered: 5.

Please check if function of remote normal.
Remote function is ok and can start.

Job is done.
 

http://xhorsevvdi.over-blog.com/

Range Rover sports 2016/2017 add key by Xhorse VVDI Key Tool Plus

Used Xhorse VVDI Key Tool Plus for Range Rover sports 2016/2017 add key successfully by OBD using together with Xhorse Smart Remote.

vvdi-key-tool-plus-range-rover-sports-2016-2017-add-key-01
vvdi-key-tool-plus-range-rover-sports-2016-2017-add-key-02
vvdi-key-tool-plus-range-rover-sports-2016-2017-add-key-03
vvdi-key-tool-plus-range-rover-sports-2016-2017-add-key-04

For Xhorse VVDI Key Tool PlusKey Tool MaxXhorse smart remote

contact at Skype: xhorsevvdi.com
Whatsapp: +86-13983756354

http://blog.xhorsevvdi.com/vvdi-key-tool-plus-range-rover-sports-2016-2017-add-key/

Program 2011 Porsche Cayenne All Lost Key by VVDI Key Tool Plus

 Used Xhorse VVDI Key Tool Plus to program 2011 Porsche Cayenne All Lost Key, take about 25 mins in total!

Prepare Porsche BCM adapter XDNP17, which I already put it on the board.
program-2011-cayenne-all-lost-key-by-vvdi-keytool-plus-01
program-2011-cayenne-all-lost-key-by-vvdi-keytool-plus-02
VVDI Key Tool Plus read D-FLASH successfully, and tick off “Save and edit” and then “OK”.
program-2011-cayenne-all-lost-key-by-vvdi-keytool-plus-03
program-2011-cayenne-all-lost-key-by-vvdi-keytool-plus-04
program-2011-cayenne-all-lost-key-by-vvdi-keytool-plus-05
program-2011-cayenne-all-lost-key-by-vvdi-keytool-plus-06
program-2011-cayenne-all-lost-key-by-vvdi-keytool-plus-07

Back to tap “immo programming“, then select “Europe” and “Porsche“, then “New Porsche key-generate dealer key“, tap “Start Programming“.
program-2011-cayenne-all-lost-key-by-vvdi-keytool-plus-08
program-2011-cayenne-all-lost-key-by-vvdi-keytool-plus-09

Tap “Generated key“, then “EEPROM (5M48H)“.
program-2011-cayenne-all-lost-key-by-vvdi-keytool-plus-10
program-2011-cayenne-all-lost-key-by-vvdi-keytool-plus-11

Tap “OK” to load the EEPROM data.
program-2011-cayenne-all-lost-key-by-vvdi-keytool-plus-12
Select “Key 4“.
program-2011-cayenne-all-lost-key-by-vvdi-keytool-plus-13
It prompts “Don’t detect transponder. Please input key first!”.
program-2011-cayenne-all-lost-key-by-vvdi-keytool-plus-14

After putting key first, tap “Generated key“, then “EEPROM (5M48H)“, then tap “OK” to load the EEPROM data.
Select “Key 4” to make key.

Click “OK” to save new eeprom data.
program-2011-cayenne-all-lost-key-by-vvdi-keytool-plus-15

Generated key successfully. Just refresh the newly saved file to the car. You can also learn the new key to the car via OBD!

If you want to add new key, please use the newly saved file to generate.
program-2011-cayenne-all-lost-key-by-vvdi-keytool-plus-16

Job is done!

Source:https://www.xhorsevvdi.com/service/program-2011-cayenne-all-lost-key-by-vvdi-keytool-plus.html

Mazda CX5 Smart Key program via Xhorse VVDI KEY TOOL PLUS -No Issue

Used VVDI KEY TOOL PLUS and Xhorse universal smart key to add Mazda CX5 Smart Key successfully, firstly “remote program” and then “Immo programming”, finally test whether the key can start the car, the whole process is simple, easy and pleasant.

Prepare:

Plug VVDI KEYTOOL PLUS into the OBD2 port of Mazda CX5, and then turn on igniton.

Login the personal account.

vvdi-keytool-plus-add-mazda-cx5-smart-key-00

Step 1. remote program

Select ” Remote Program” -> Asia -> Mazda -> All remotes -> Mazda 2button ID49 2380

vvdi-keytool-plus-add-mazda-cx5-smart-key-02
vvdi-keytool-plus-add-mazda-cx5-smart-key-03

Have remote information (ID: 0522 386, Frequency: 433.92 FSK, Remote: smart key), and then it tells the matching method: Please take out the PCB and remove the battery to match.

vvdi-keytool-plus-add-mazda-cx5-smart-key-04
vvdi-keytool-plus-add-mazda-cx5-smart-key-05
vvdi-keytool-plus-add-mazda-cx5-smart-key-06

Keep Xhorse universal smart key close to the coil of key tool plus and it will write the data, wait until it reads 100% and burn success.

vvdi-keytool-plus-add-mazda-cx5-smart-key-07
vvdi-keytool-plus-add-mazda-cx5-smart-key-08

Step 2. Immo programming

Back to the home menu and select “ Immo programming“.

Select Asia -> Mazda -> CX5 -> -2016 -> Start programming -> add a key.

vvdi-keytool-plus-add-mazda-cx5-smart-key-09
vvdi-keytool-plus-add-mazda-cx5-smart-key-10

Click on “OK” to confirm the original car key is a 2-button key and you need to program with the 2-button smart key.

vvdi-keytool-plus-add-mazda-cx5-smart-key-11

Please switch ignition on.

vvdi-keytool-plus-add-mazda-cx5-smart-key-12

Reading data… wait a few seconds and you can see “Completed to read password…”, tap “OK” to continue.

vvdi-keytool-plus-add-mazda-cx5-smart-key-13

Current number of smart keys:2, tap “Yes” to continue.

vvdi-keytool-plus-add-mazda-cx5-smart-key-14

Step on brakes when automatic-shift, step on the clutch when manual-shift, and keep the maker end of the smart key close to the start button.

vvdi-keytool-plus-add-mazda-cx5-smart-key-15

Alright, key matched successfully, current number of smart keys: 3, click “Ok” to confirm.

vvdi-keytool-plus-add-mazda-cx5-smart-key-16

Complete the following steps after program is successfully:

Switch ignition off, then step on brakes, click the start button by the smart key to be added to start the engine for 3 seconds, then switch ignition off.

vvdi-keytool-plus-add-mazda-cx5-smart-key-17

Step 3. Test whether the new key can start the car.

vvdi-keytool-plus-add-mazda-cx5-smart-key-18

Alright, the job is done.

Thumb up VVDI KEY TOOL PLUS and Xhorse universal smart key.

Source:http://blog.xhorsevvdi.com/xhorse-vvdi-keytool-plus-add-mazda-cx5-smart-key/

Design a site like this with WordPress.com
Get started