VVDI Mini Key Tool Overview: available with Wireless remote generation, Wired remote generation, Chip generation, the method to change the language and view the newest version number.
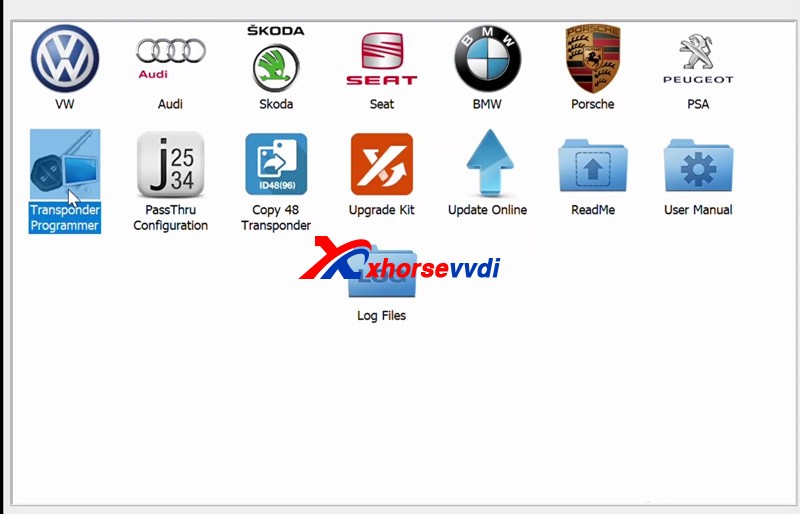
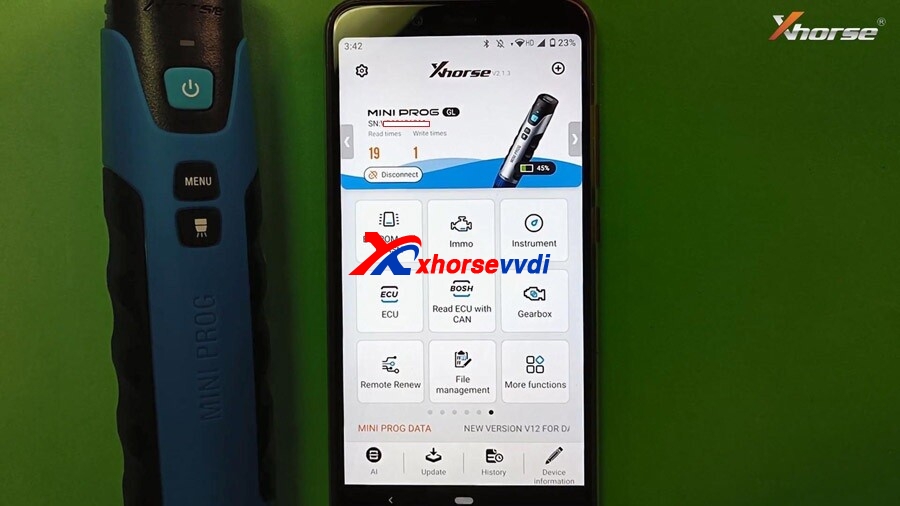
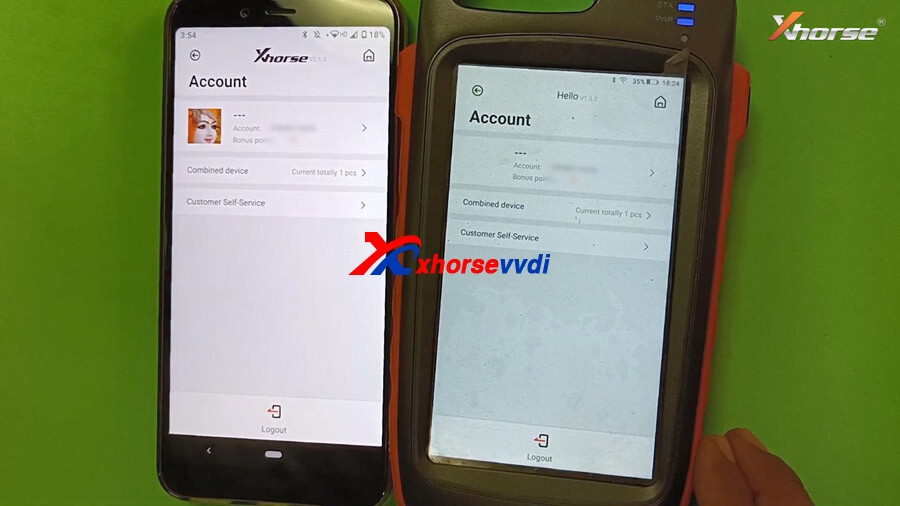
First connect VVDI Mini Key Tool
Click “Select”, and it will search for devices.
Long press the power button of the Mini Key Tool, and you can see the serial number on the screen, which means it has been turned on.
Meanwhile, you can see the icon of Mini Key tool in the Xhorse APP, tap the device icon to connect the device.
You will hear two beeps, it means it has been connected.

Next, let’s demonstrate how read and generate the chip.
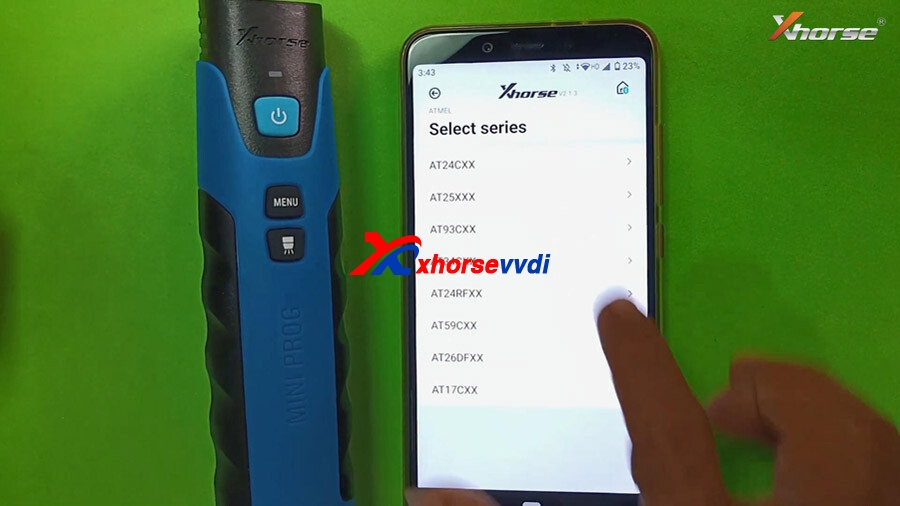
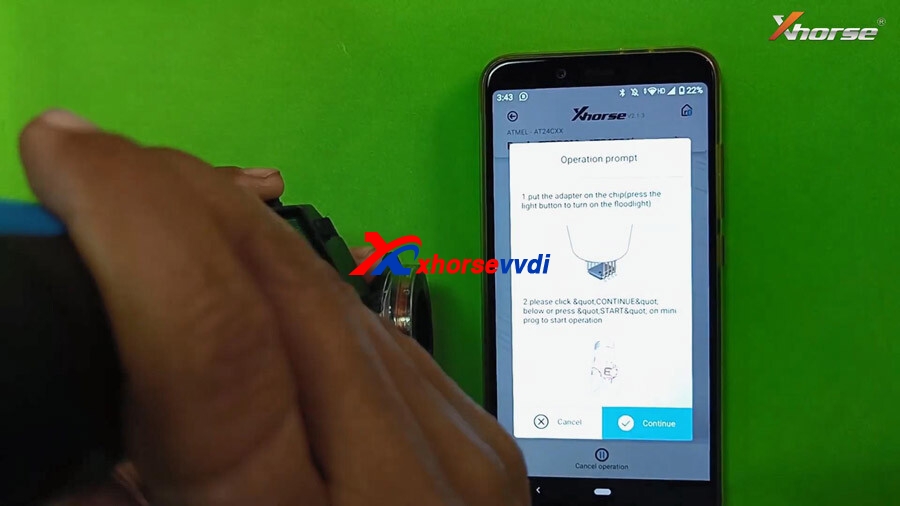
Put the chip into the keyhole of Mini Key Tool.
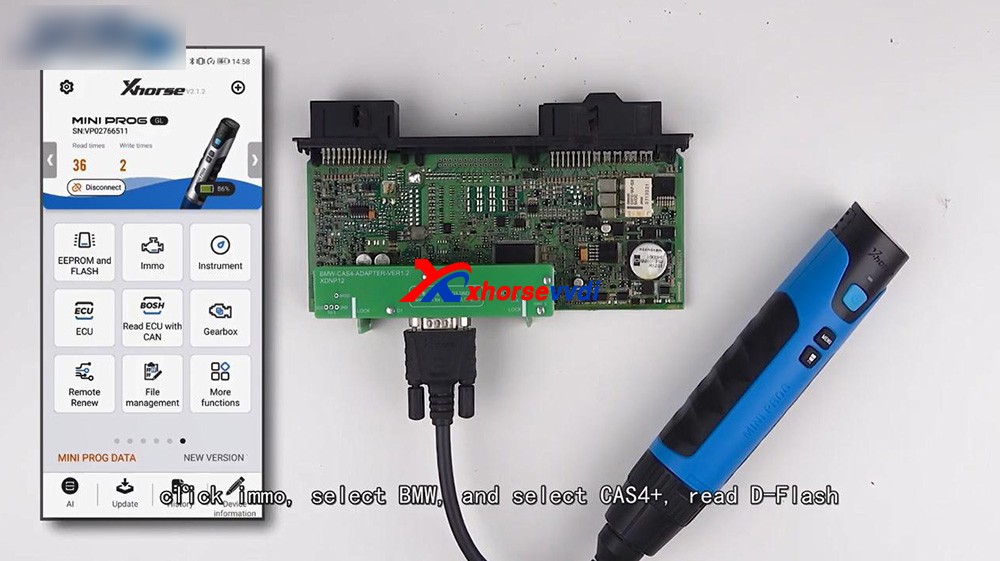
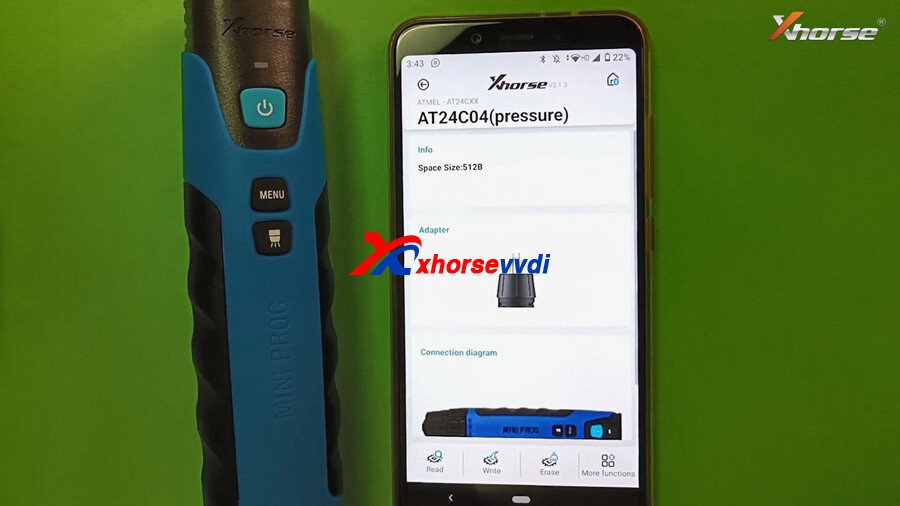
Click on “Read transponder”.
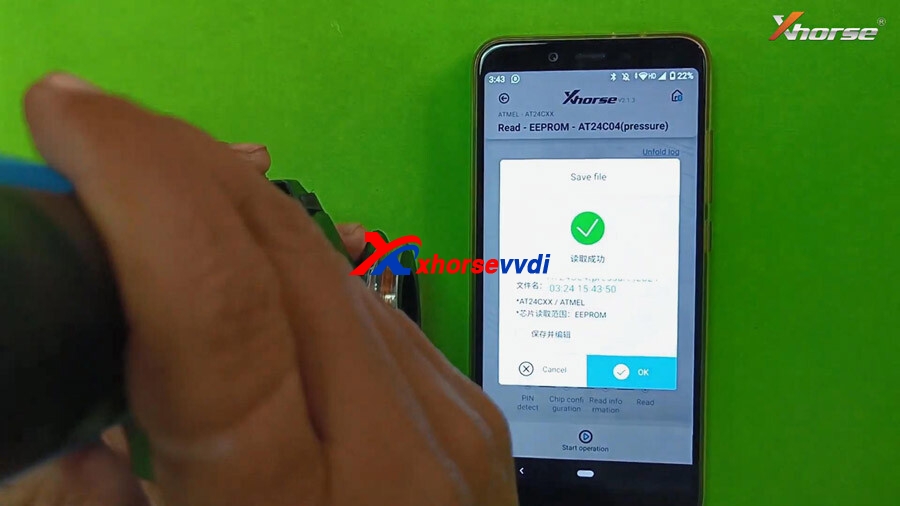
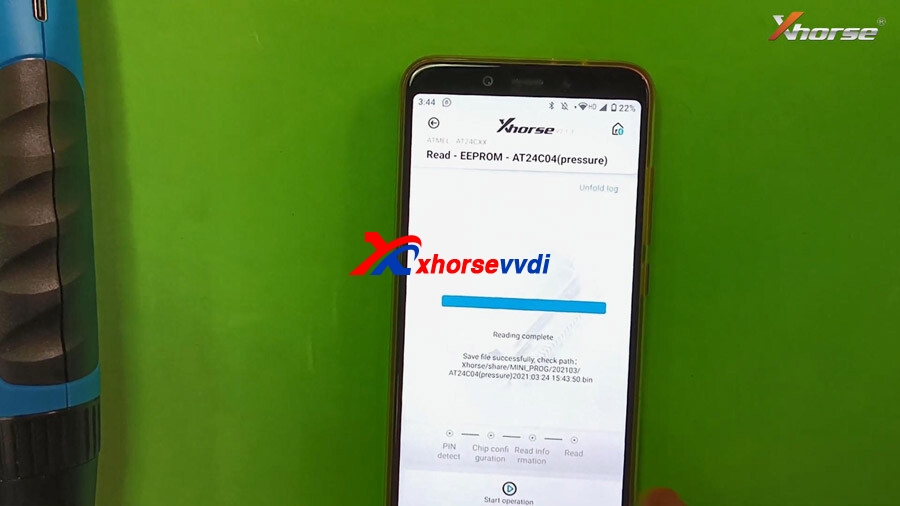
Okay, now the chip is recognized.
Then click on “Generate Transponder”.
Choose a chip type to be generated, for example, generate ID46 chip, soon, the chip is generated successfully. Go back to click on “Read transponder” to read this chip, it is already the 46 chip that is generated just now.


Next, generate wireless remote.
This is a wireless remote, put it into the keyhole of the Mini Key Tool.
Then select the car model you want to generate.
I have smart card so it will generate smart remote.
If it prompts failed to generate, please adjust the position of wireless smart remote, because the coil position may not be able to sense the chip.
Ok, generation succeed.


Next, generate wired remote.
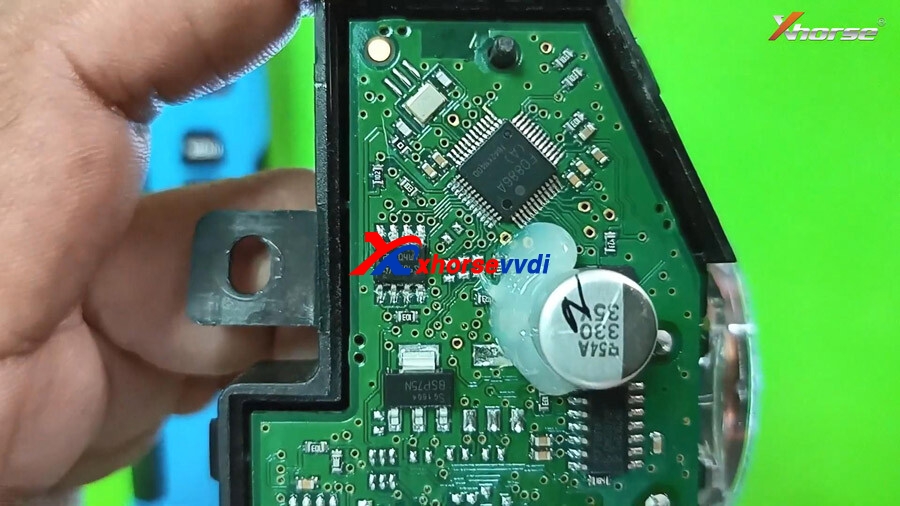
This is a wired remote, just remove its cover and you will see that there is a chip interface which can be connected to this remote programming cable.
Then you can generate keys by selecting “Vehicle remote”, select the model you want to generate, click “generate”, after the generation is complete, click OK.


Finally, check the version and change the language
Just click “Device information” to view the latest version.
If there is the latest version, it will let you update as soon as you open the software and you do not need to enter “Device information” to update.
How to change the language: Click “Select” and then “Language” to change the language you want.


Enjoy!


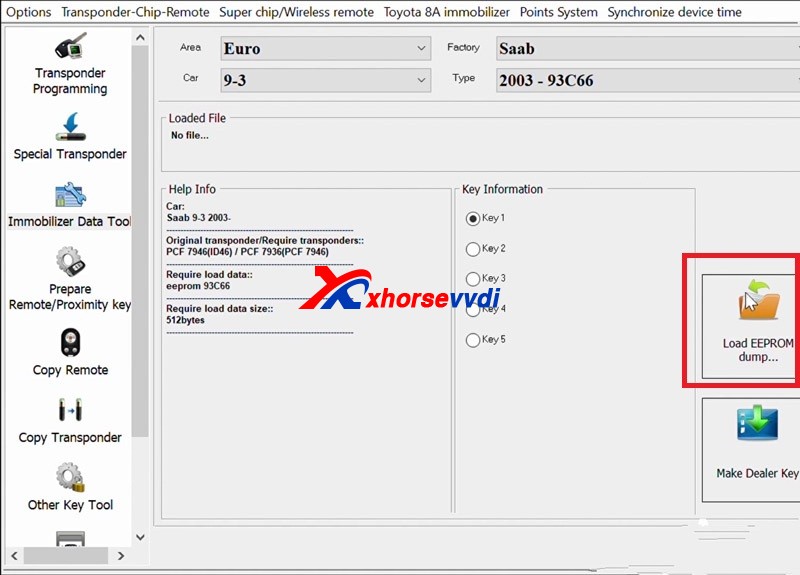
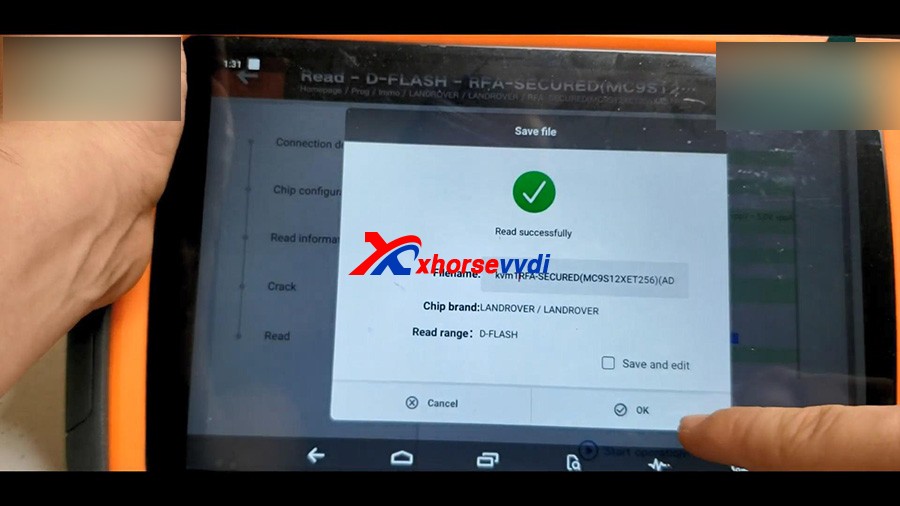
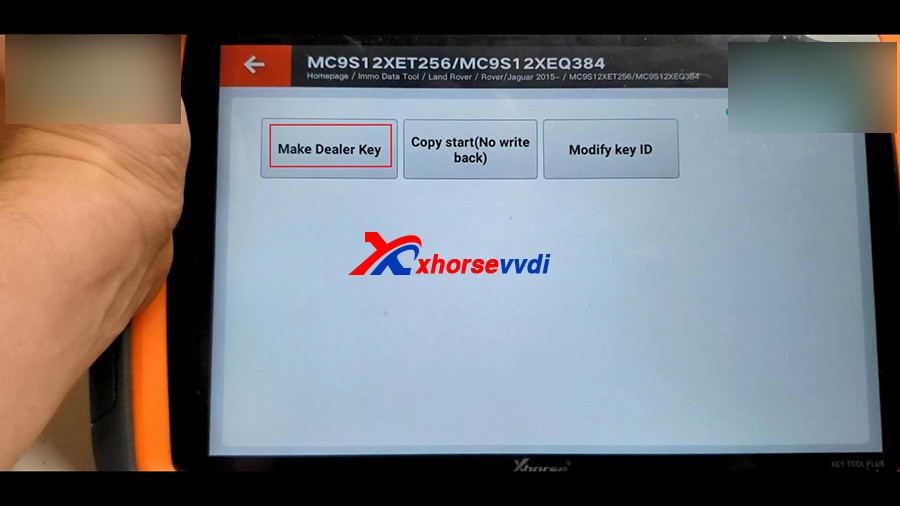
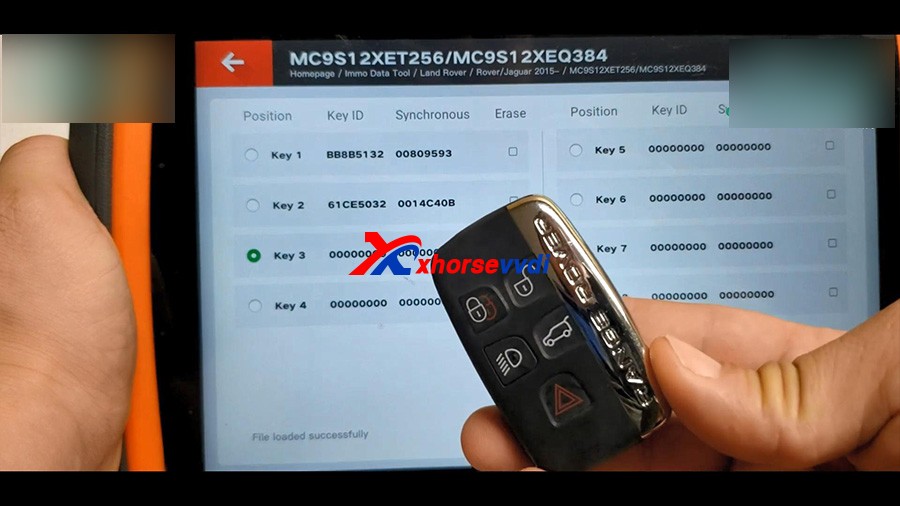
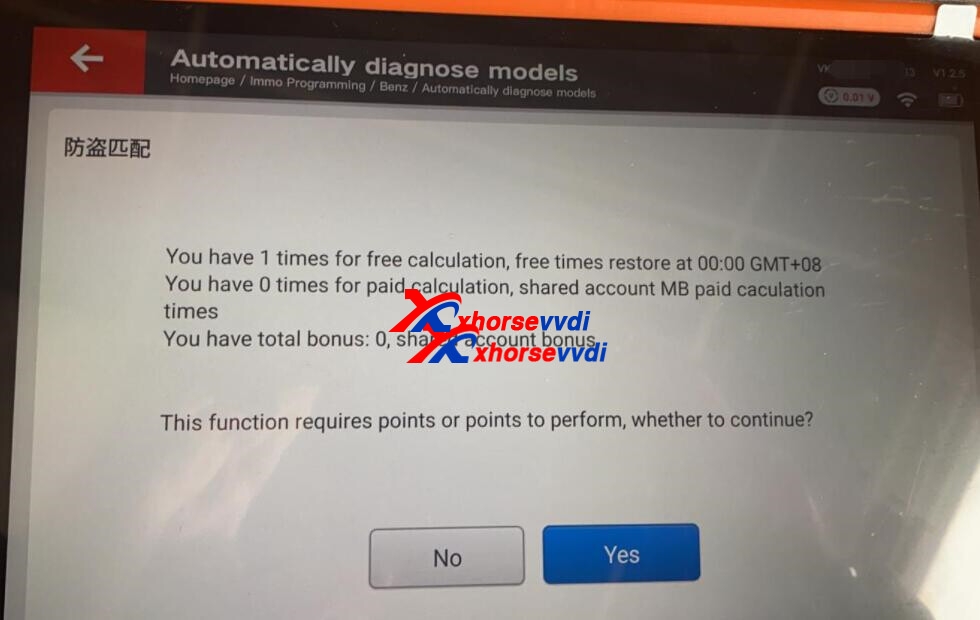
 Make dealer key
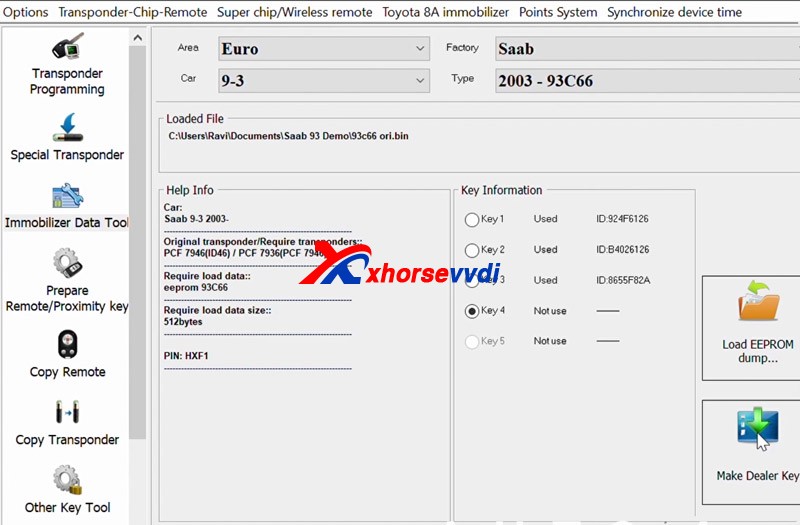
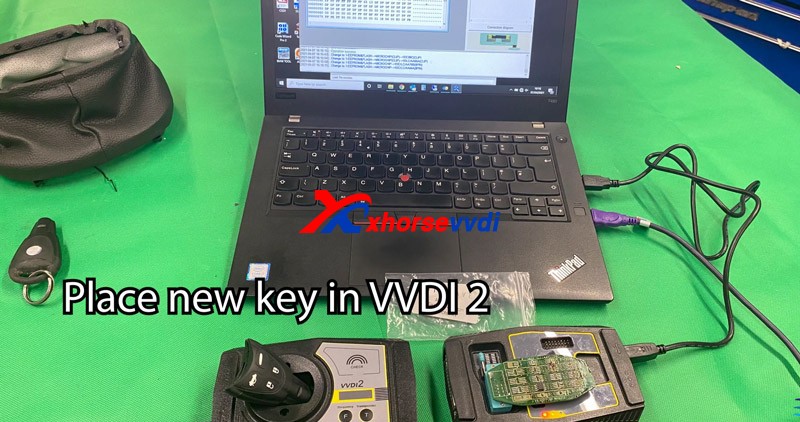
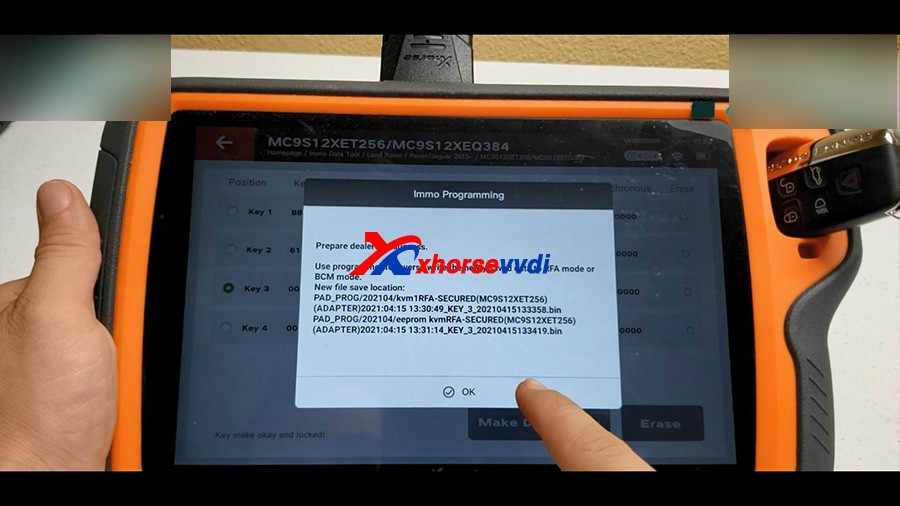
 when this message appears,click ok
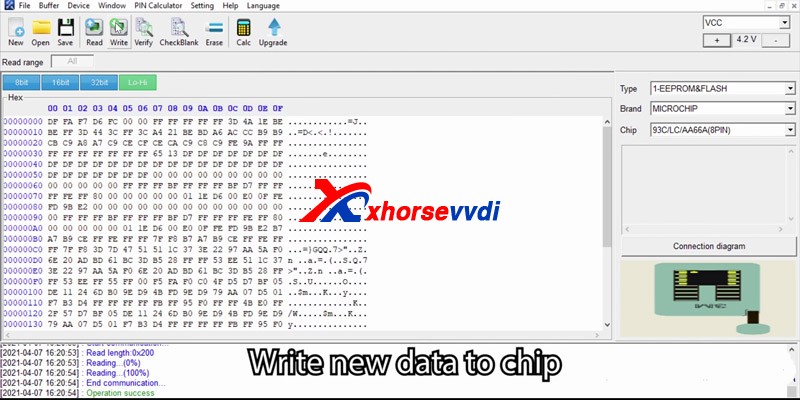
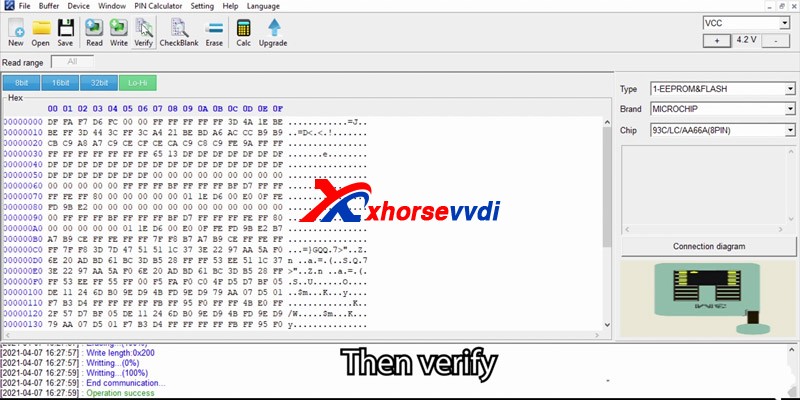
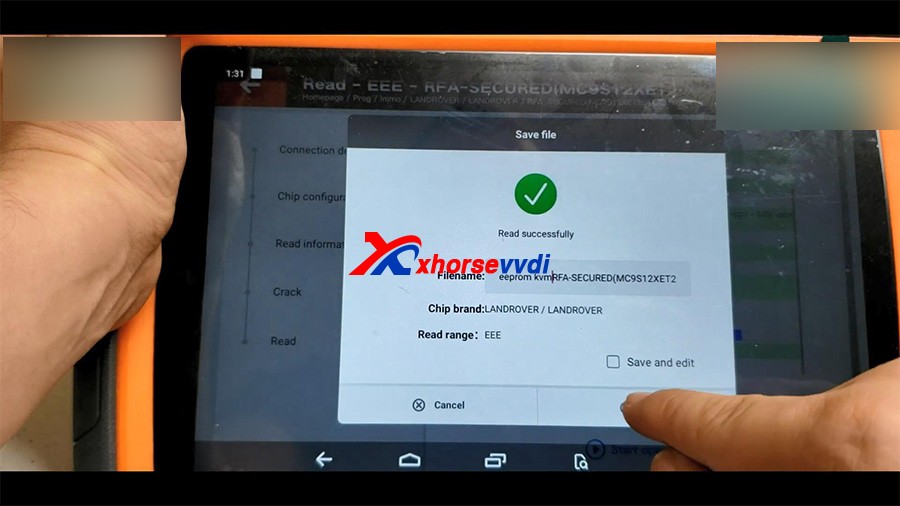
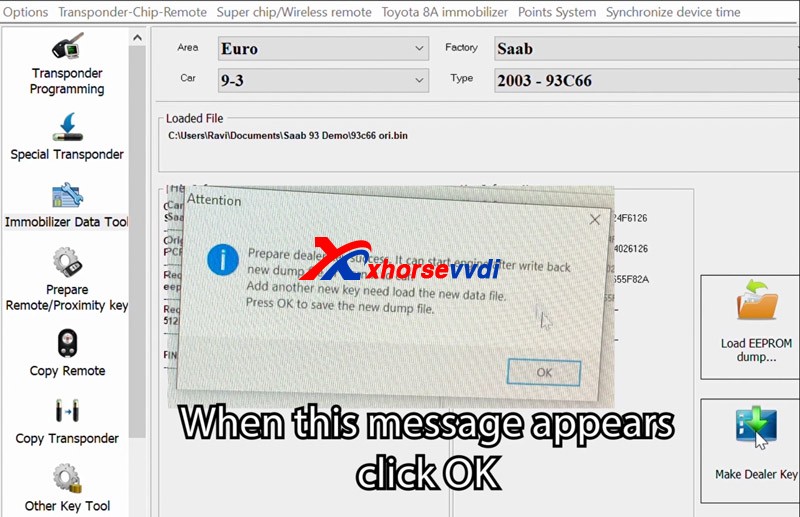 Prepare dealer key success, it can start engine after write back new dump file or learn it to car
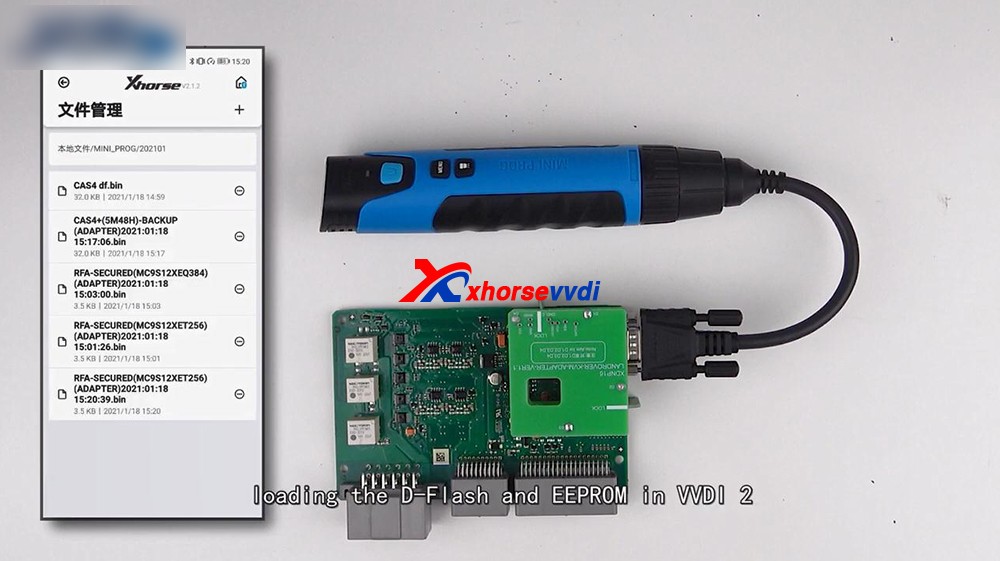
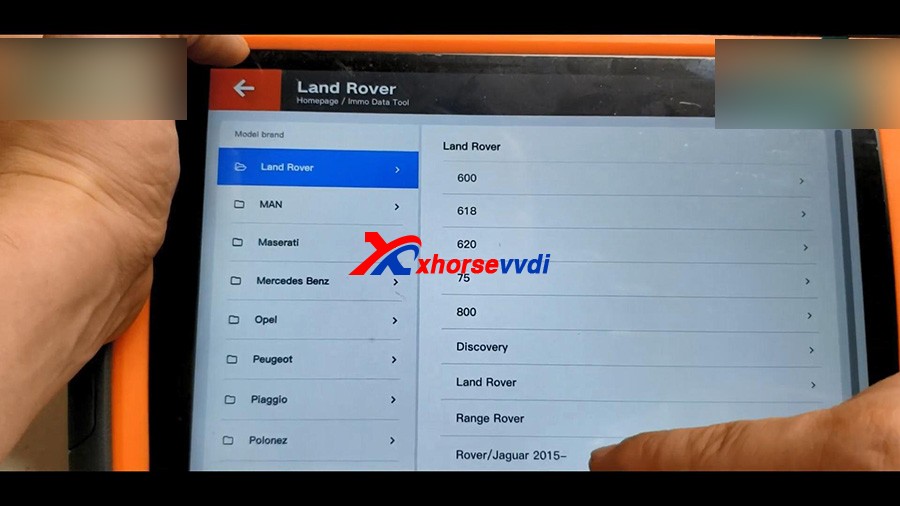
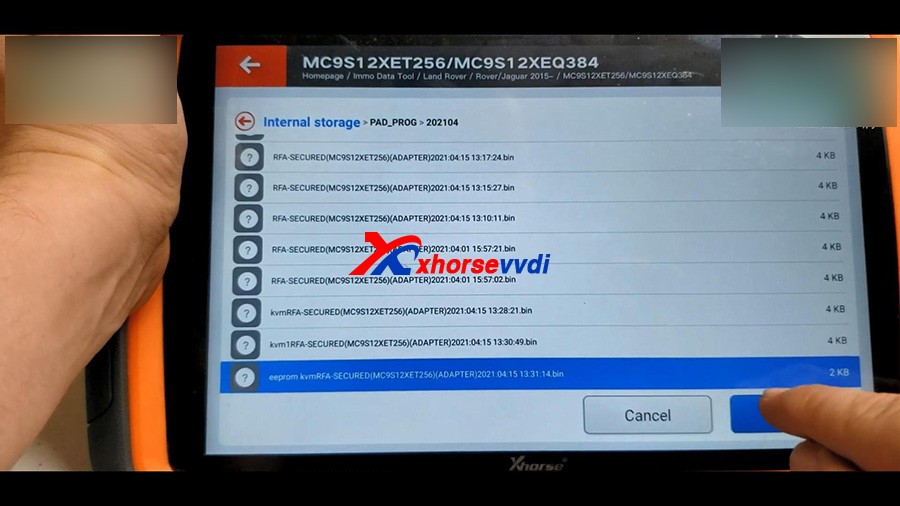
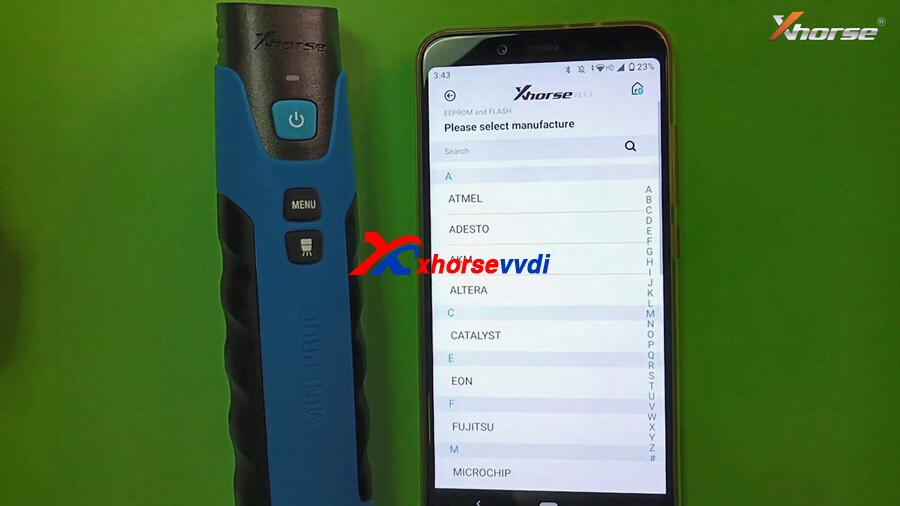
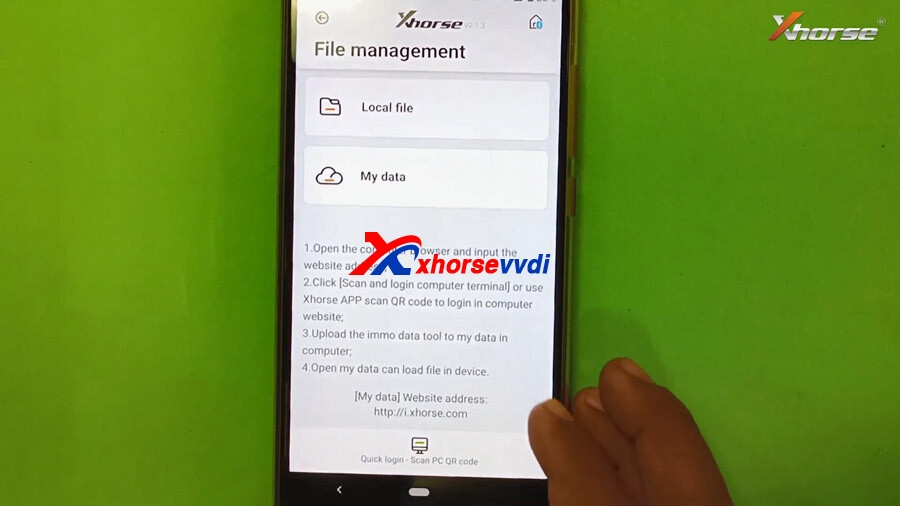
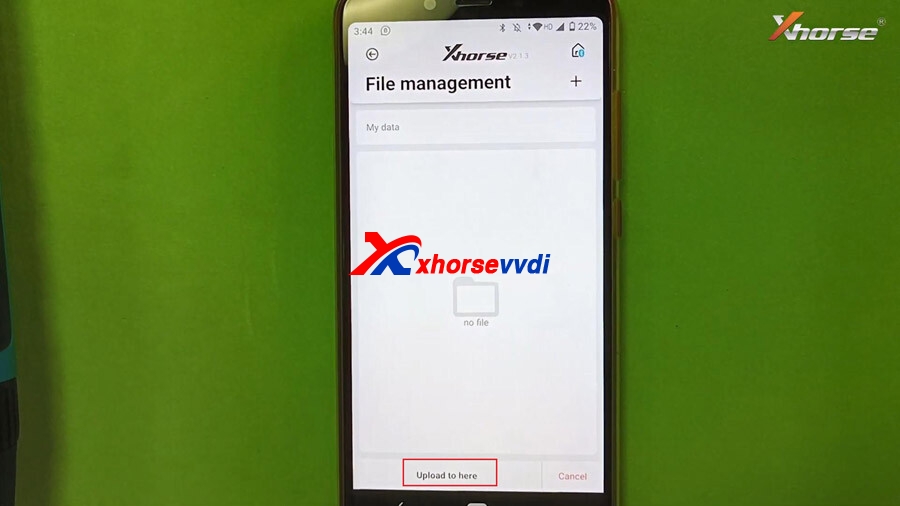
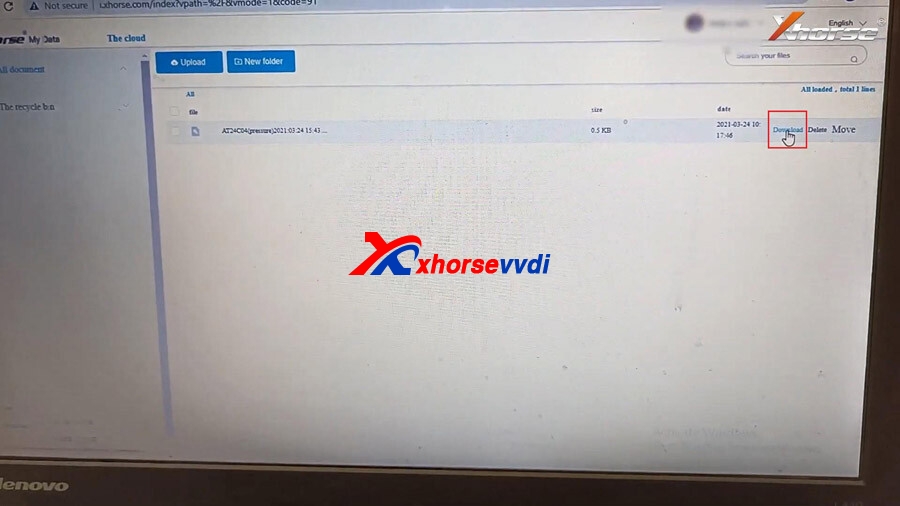
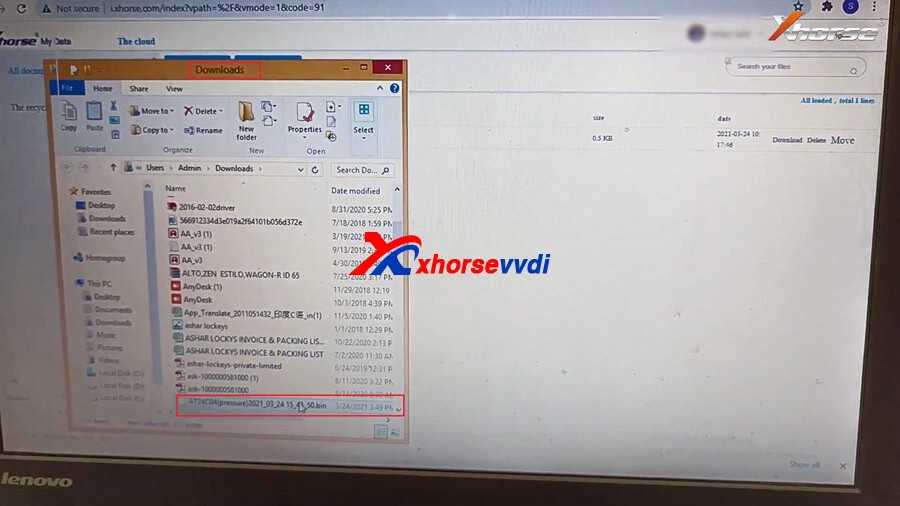
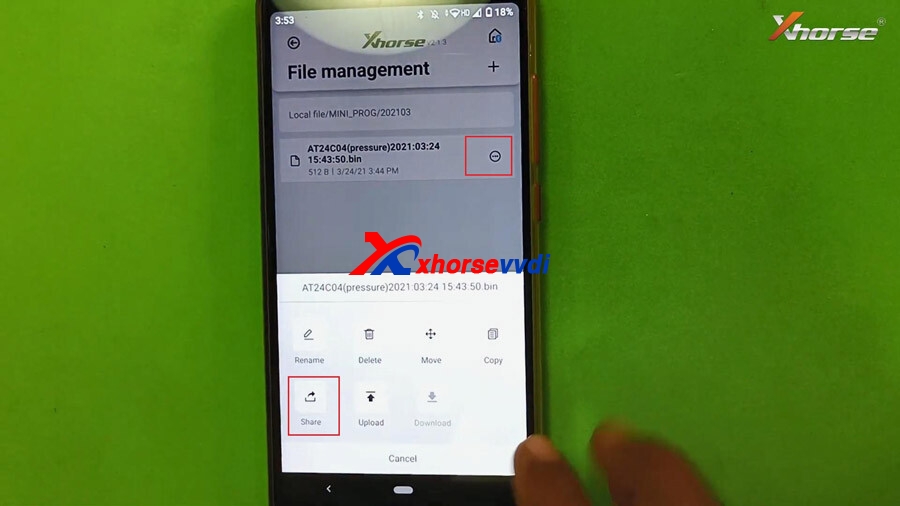
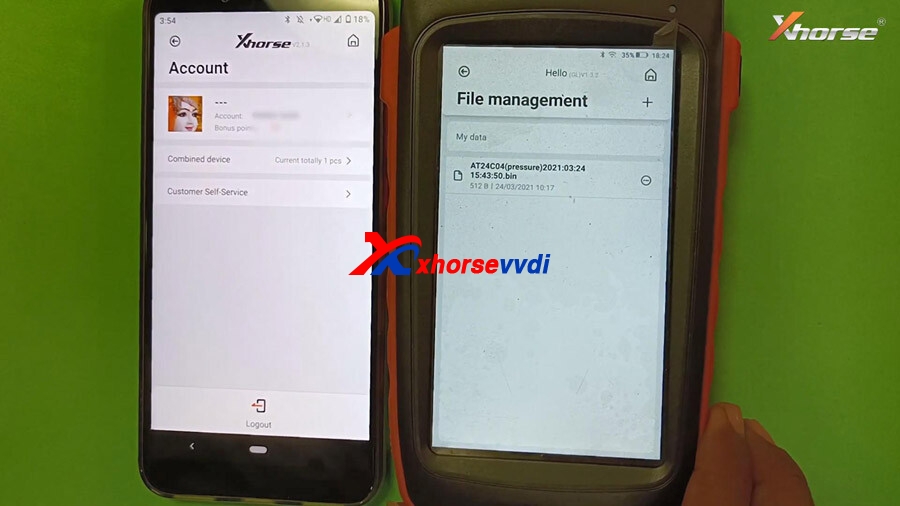
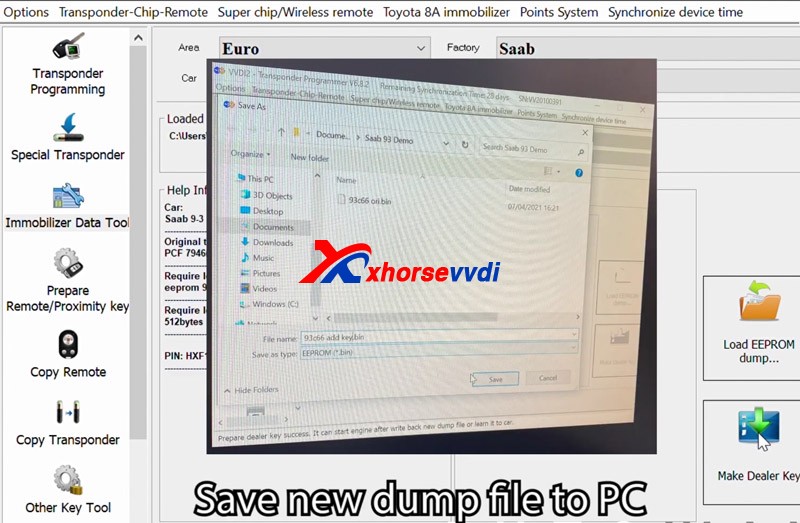 Open new dump file
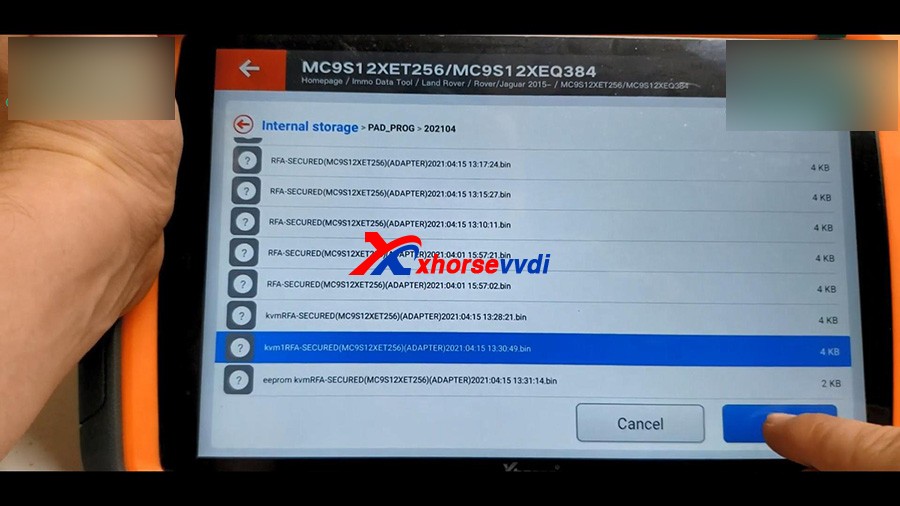
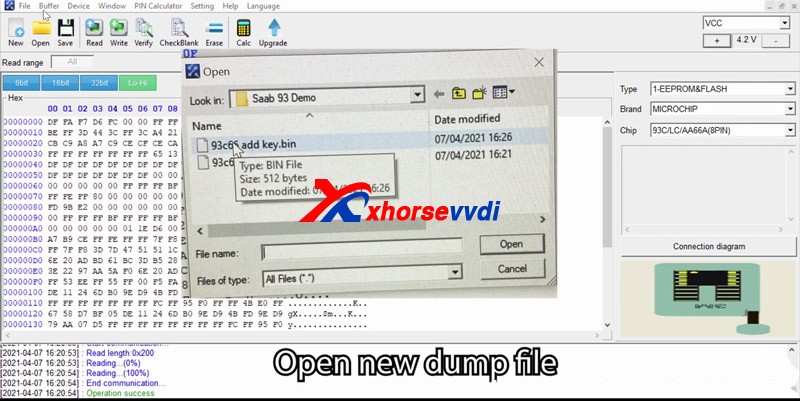


